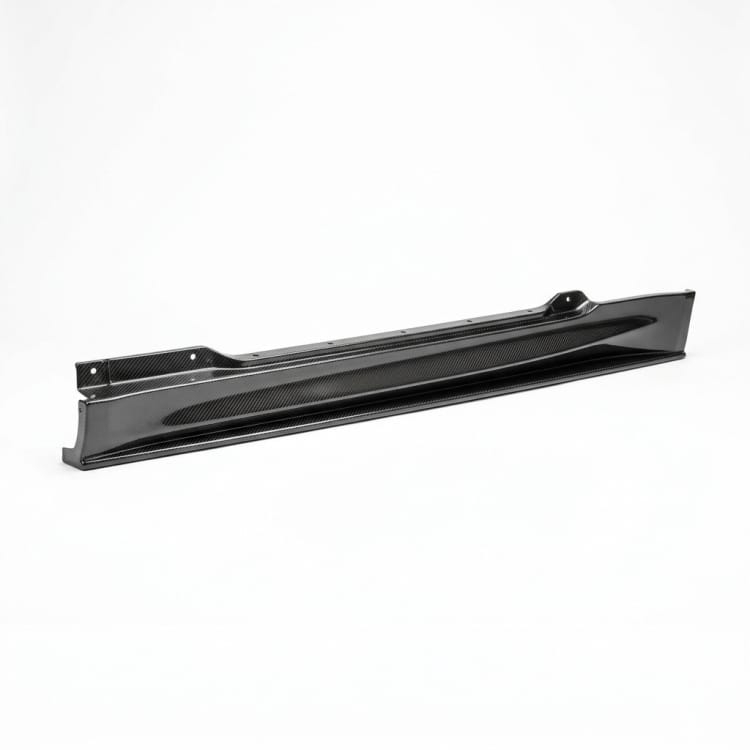
FRP Side Skirt Panel
Match the FRP side skirt panel to the vehicle reference. Confirm door and wheel clearance, bracket layout; agree section length, road exposure and finish match before tooling.
Direct Manufacturer
Explore made-to-drawing FRP vehicle panels and shells. Define the vehicle reference, openings, mounting points, panel gaps, surface finish, and assembly scope.
Match the FRP side skirt panel to the vehicle reference. Confirm door and wheel clearance, bracket layout; agree section length, road exposure and finish match before tooling.
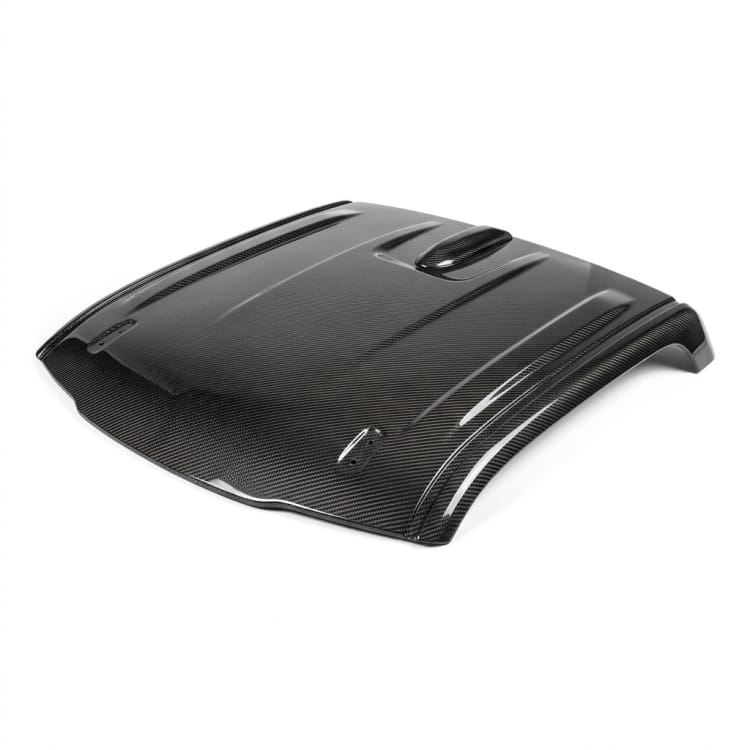
Match the FRP vehicle roof cap to the vehicle reference. Confirm roof curvature and drainage channels; agree glass or antenna openings, mounts and sealing line before tooling.
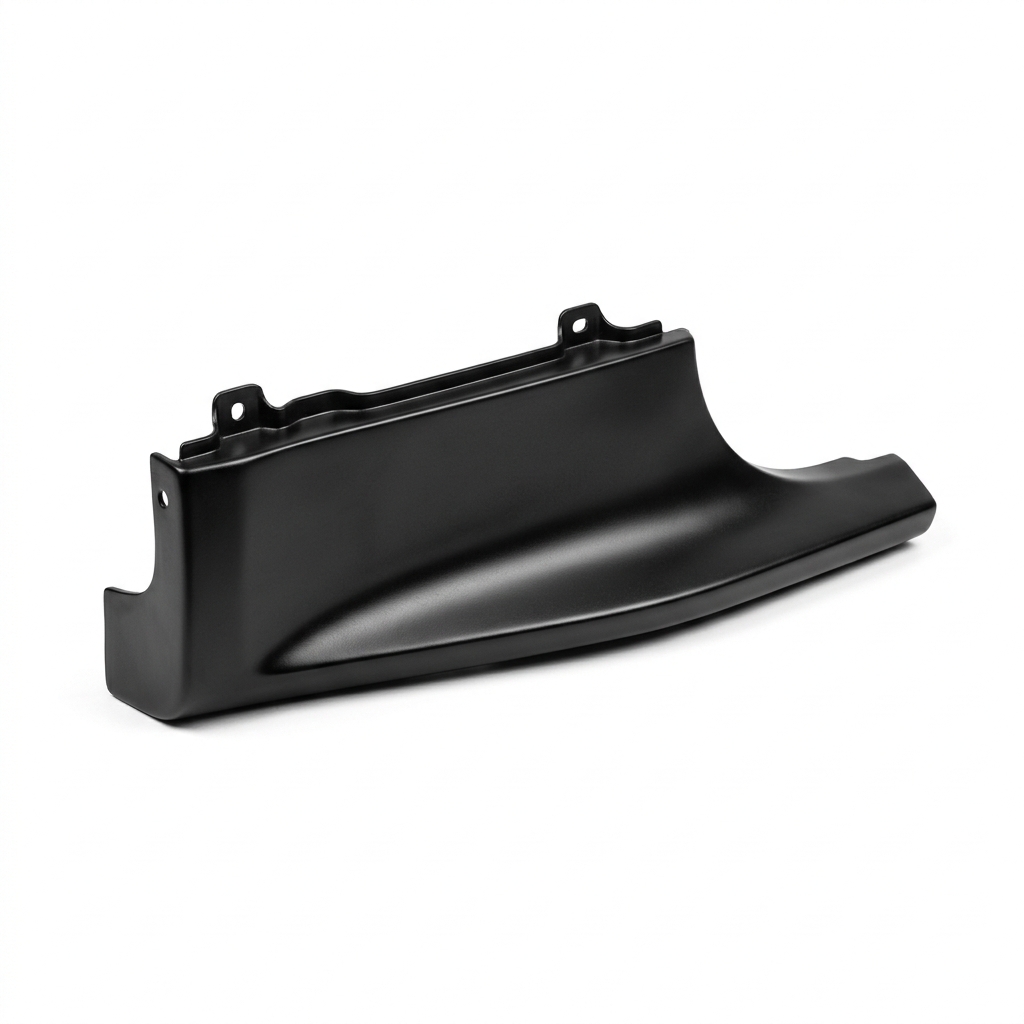
Match the FRP quarter panel extension to the vehicle reference. Confirm wheel-arch position and door clearance; agree join line, body reference and attachment method before tooling.
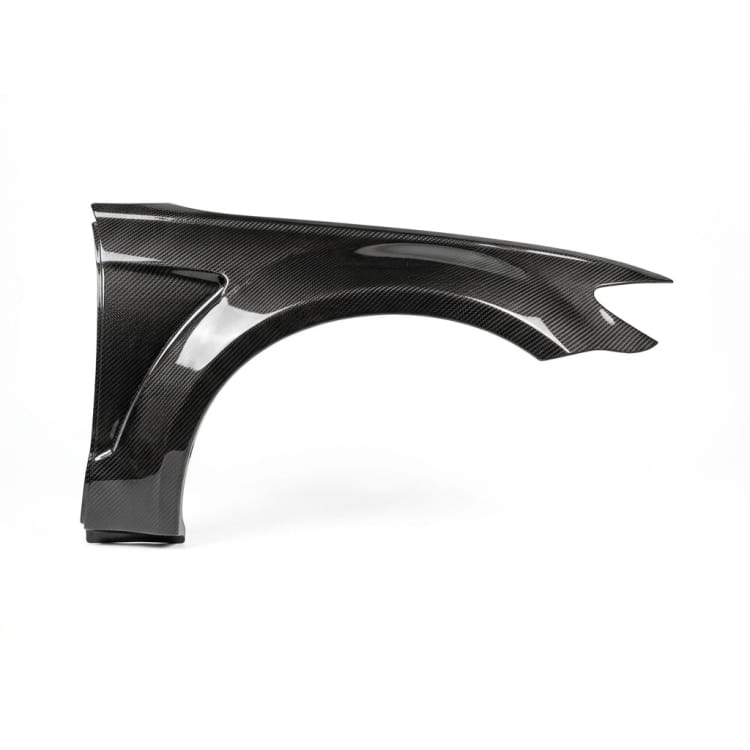
Match the FRP wheel arch cover to the vehicle reference. Confirm tire clearance and arch profile; agree body fixing, edge return and paired-side symmetry before tooling.
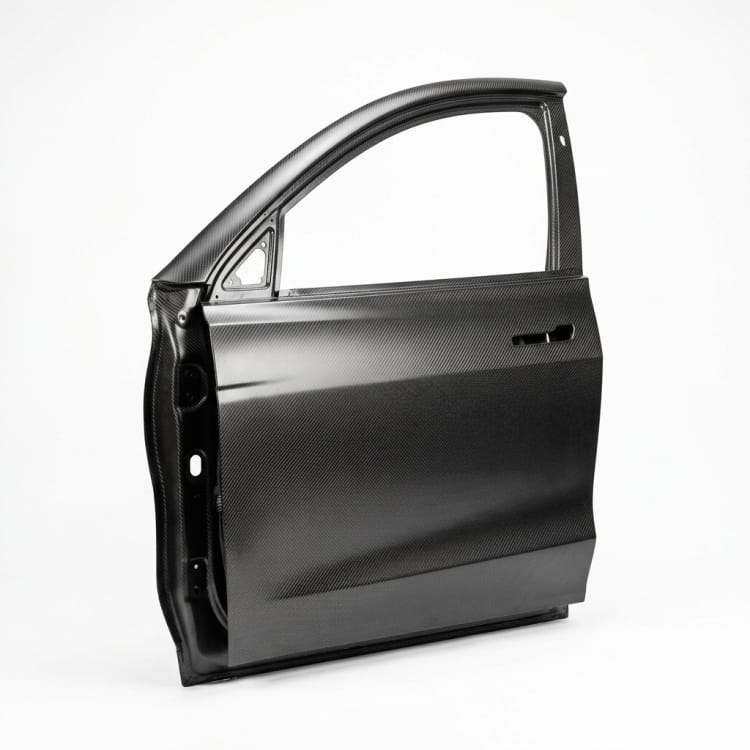
Match the FRP EV door shell to the vehicle reference. Confirm hinge and latch interfaces, glass opening; agree inner reinforcement, seals and panel gaps before tooling.
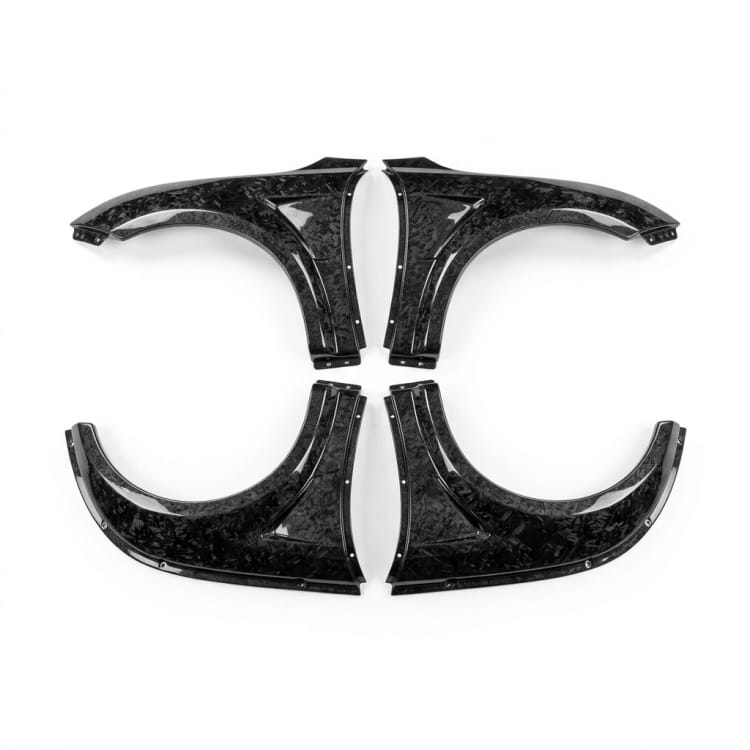
Match the FRP fender flare set to the vehicle reference. Confirm wheel travel clearance and left-right symmetry; agree body attachment, edge return and paint match before tooling.
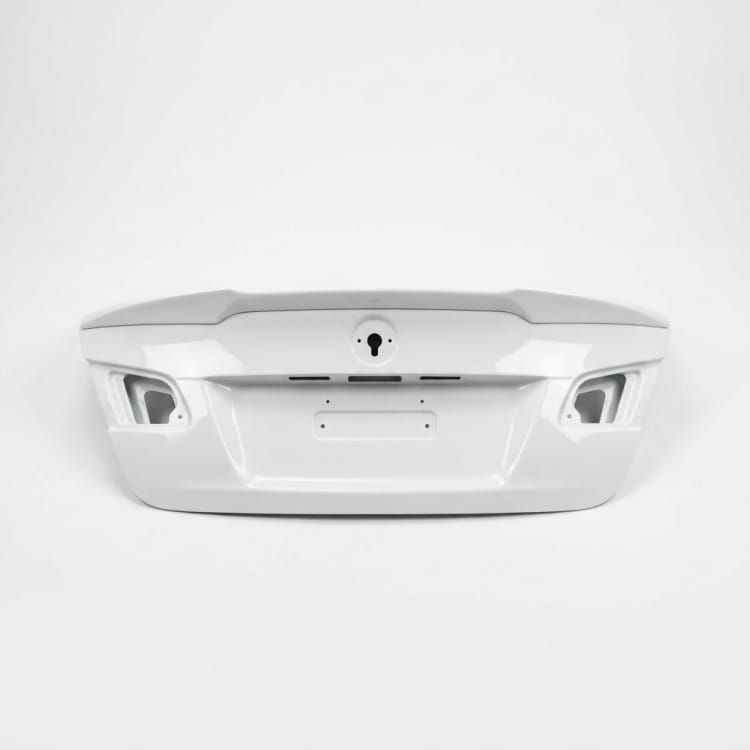
Match the FRP trunk lid shell to the vehicle reference. Confirm hinge and latch interfaces, license-light openings; agree reinforcement and gap targets before tooling.
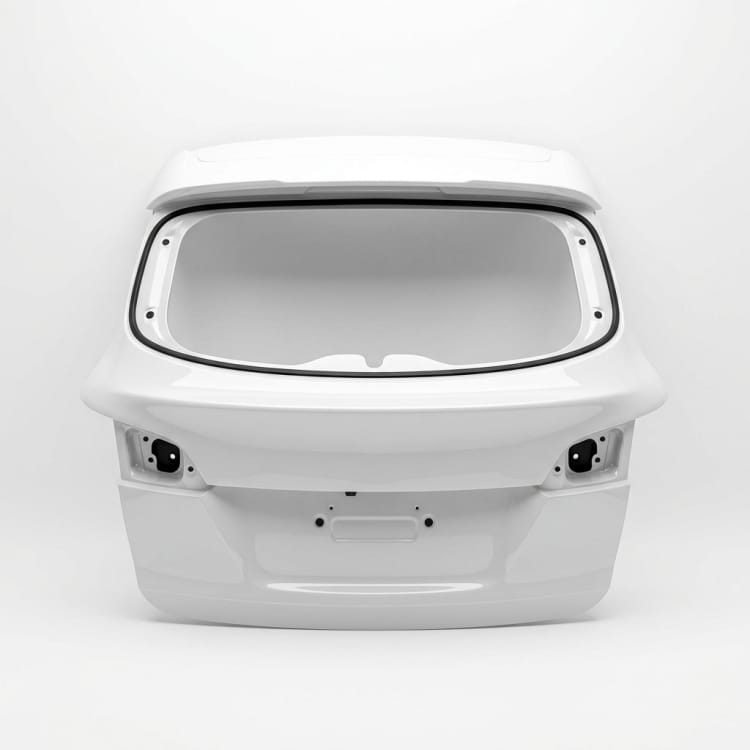
Match the FRP rear hatch shell to the vehicle reference. Confirm hinge and latch zones, glazing aperture; agree sealing line, reinforcement and closure gaps before tooling.
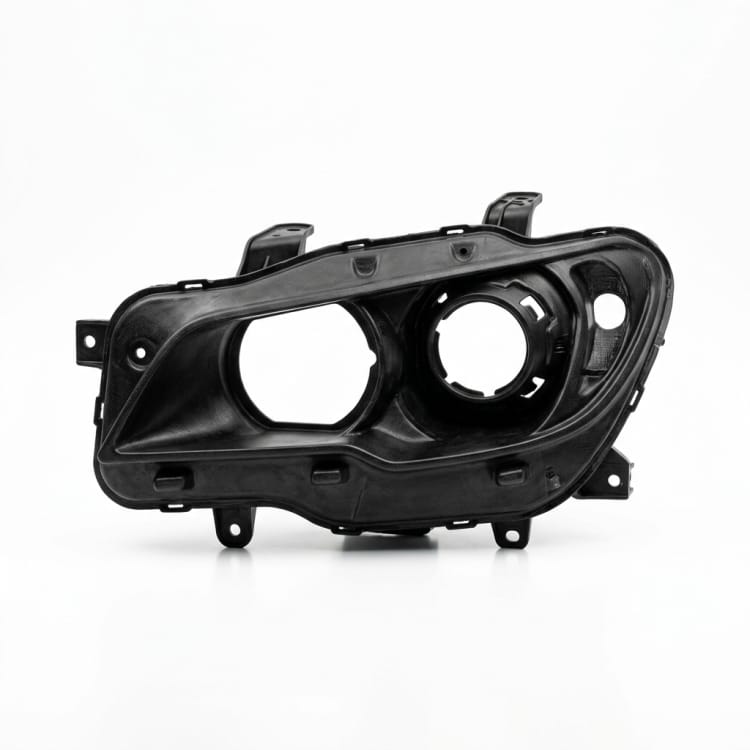
Match the FRP headlamp surround panel to the vehicle reference. Confirm lamp aperture and sealing edge; agree fastener access, body lines and paired-side fit before tooling.
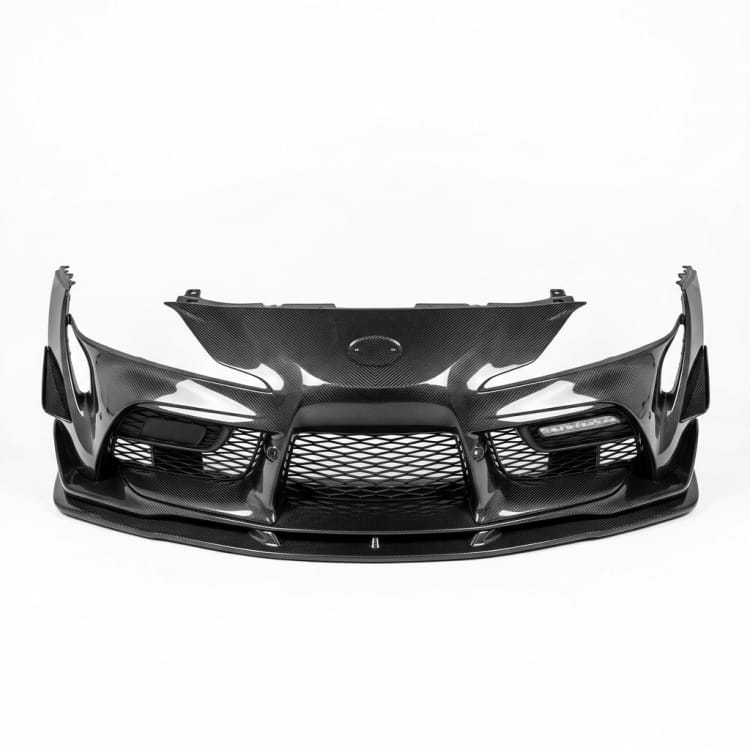
The front fascia follows the vehicle reference around lamps, grille and bumper. Check mounting points and pedestrian-facing edges before finalizing its molded shape.

Custom FRP exterior body shell and panels for an electric vintage-style vehicle built to the vehicle maker's package. The buyer defines chassis, glazing, closures, mounting, and regulatory requirements.
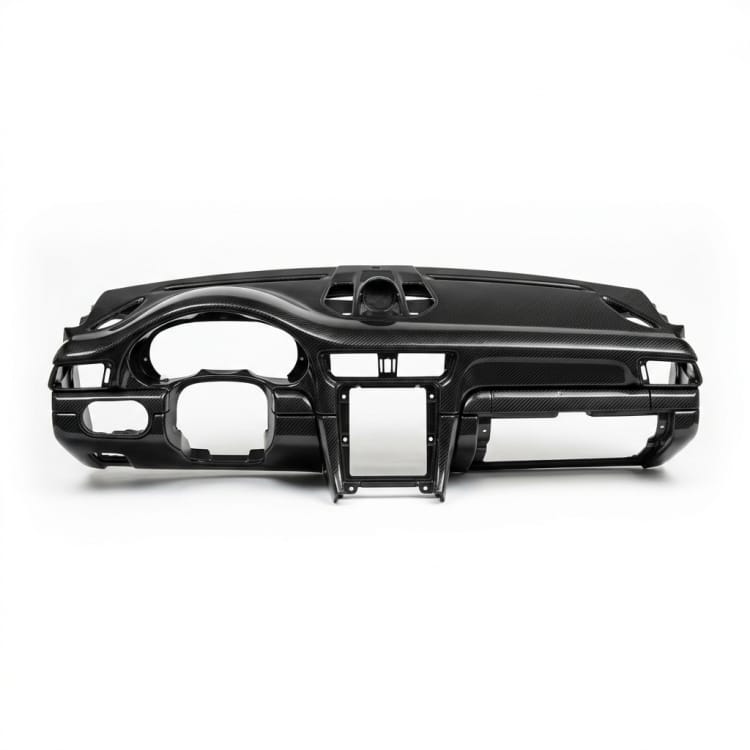
Match the FRP dashboard shell to the vehicle reference. Confirm instrument openings and air vents; agree attachment points, occupant-facing finish and adjacent trim gaps before tooling.
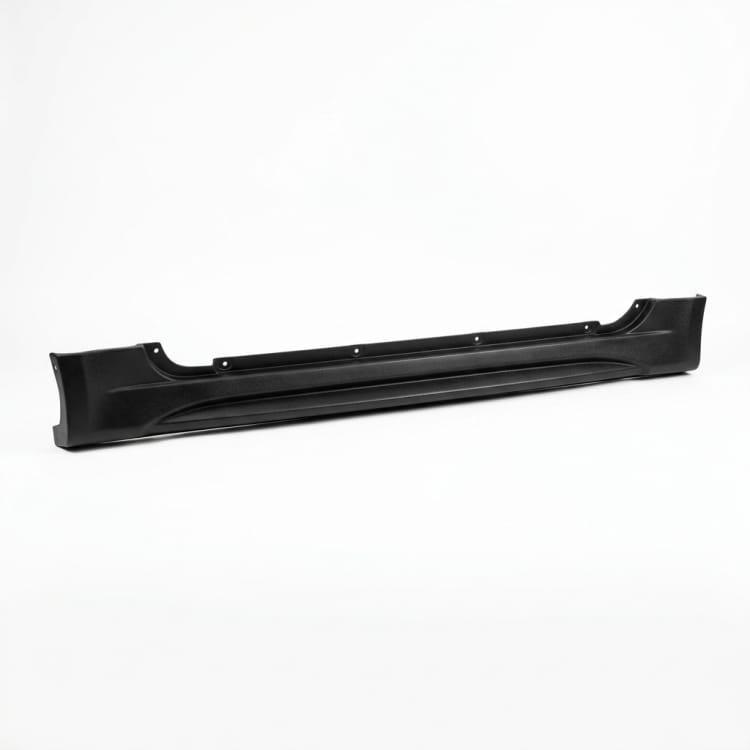
Match the FRP rocker panel cover to the vehicle reference. Confirm door clearance and jack-point access; agree clip positions, road-debris exposure and paint match before tooling.
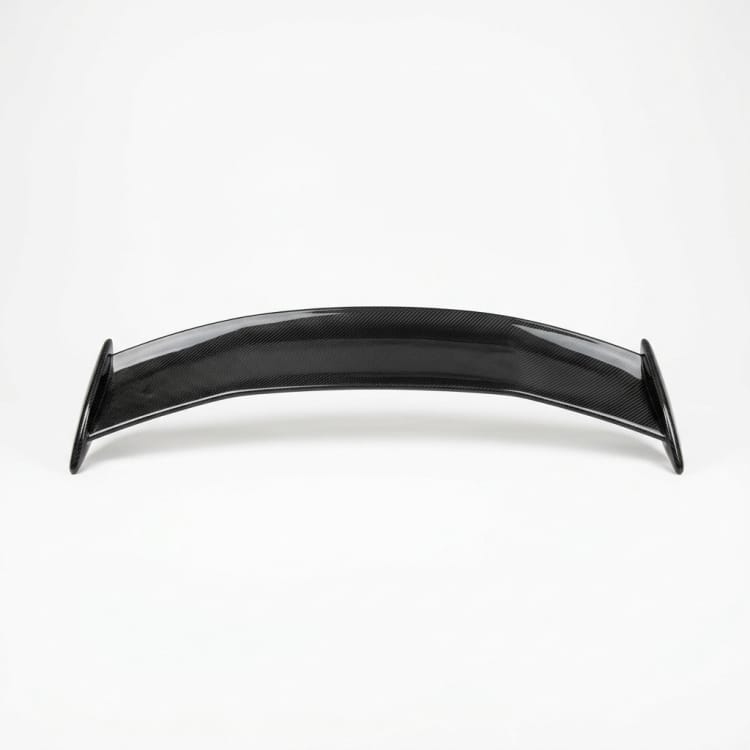
A rear spoiler shell starts with the vehicle it must fit. Check the deck or roof interface, mounting points, left-right symmetry and finish against the approved reference.
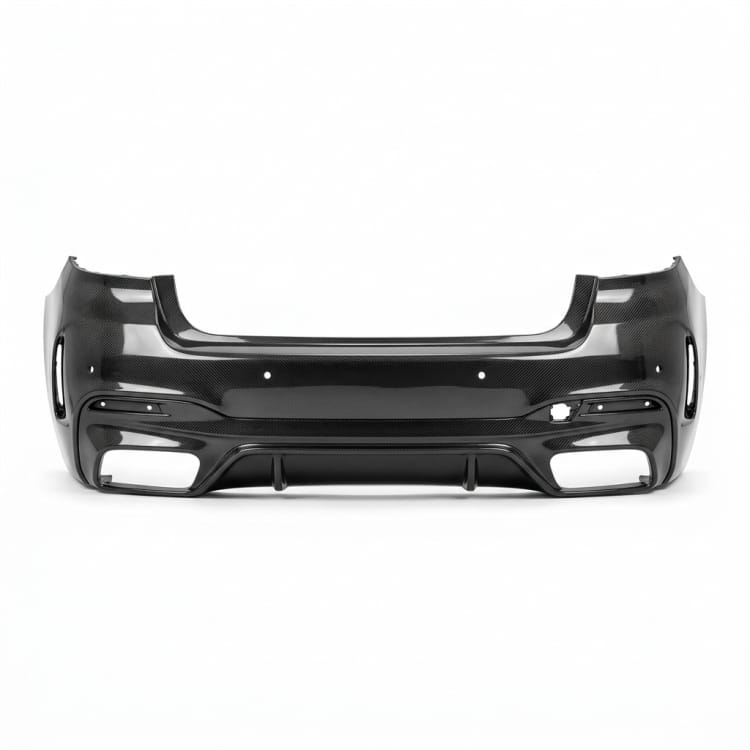
Match the FRP rear bumper shell to the vehicle reference. Confirm lamp and sensor openings, tow or service access; agree fixing points and adjacent panel gaps before tooling.
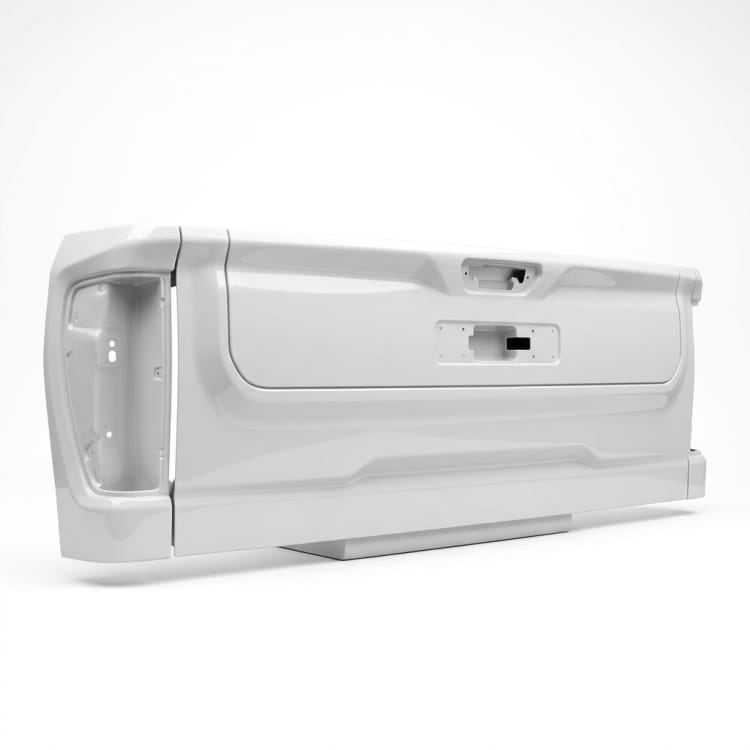
Match the FRP tailgate outer panel to the vehicle reference. Confirm latch and hinge locations, handle openings; agree reinforcement, sealing and panel gaps before tooling.
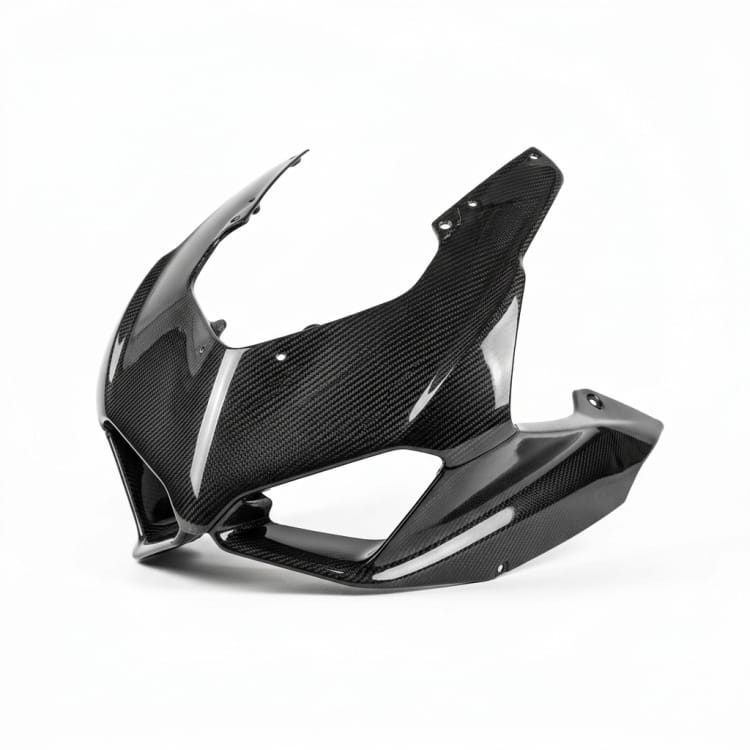
Match the FRP front fairing panel to the vehicle reference. Confirm vehicle reference, lamp and grille openings; agree service access, mount positions and surrounding gaps before tooling.
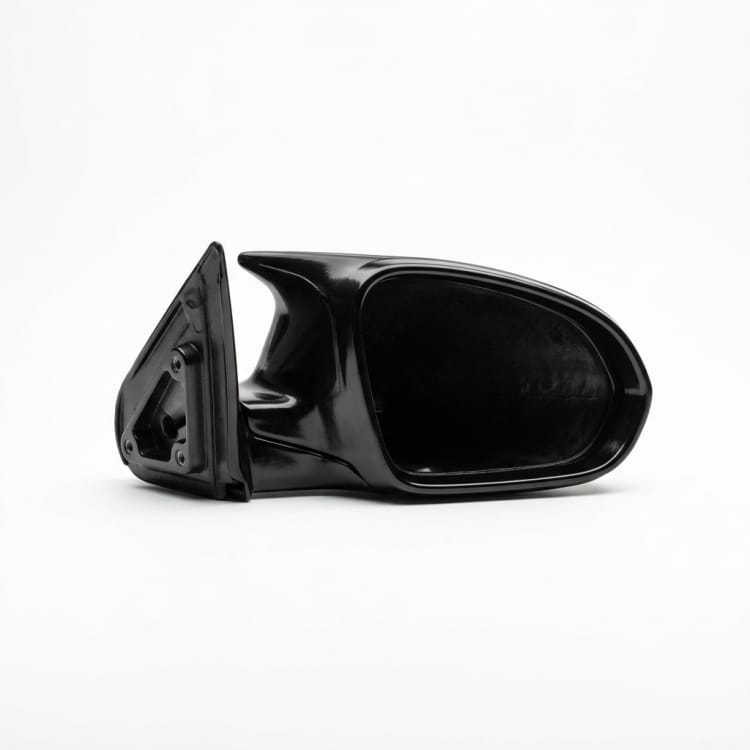
Match the FRP side mirror housing to the vehicle reference. Confirm mirror mechanism clearance and glass aperture; agree joint line, fastener access and paired-side fit before tooling.
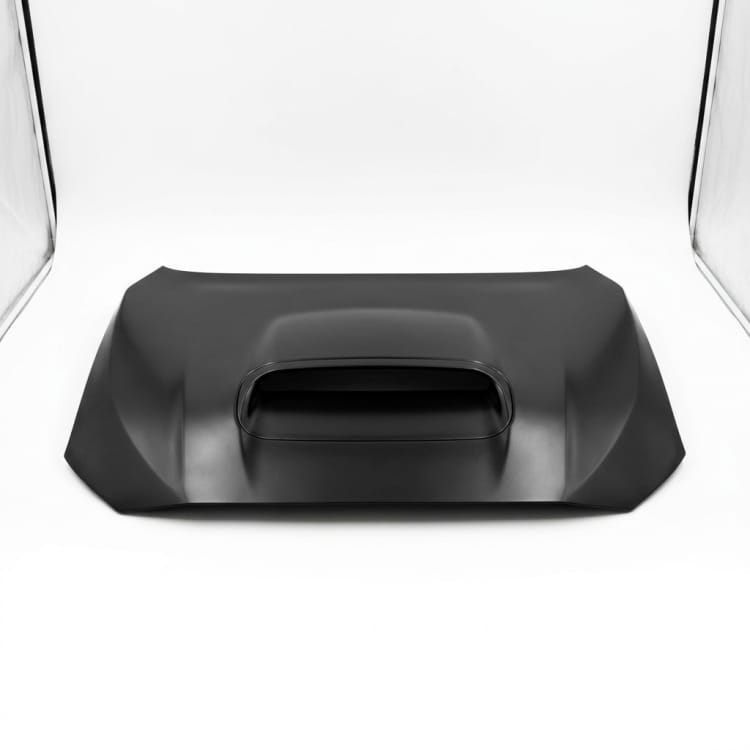
Match the FRP hood scoop panel to the vehicle reference. Confirm hood curvature and opening layout; agree reinforcement, water management and attachment detail before tooling.
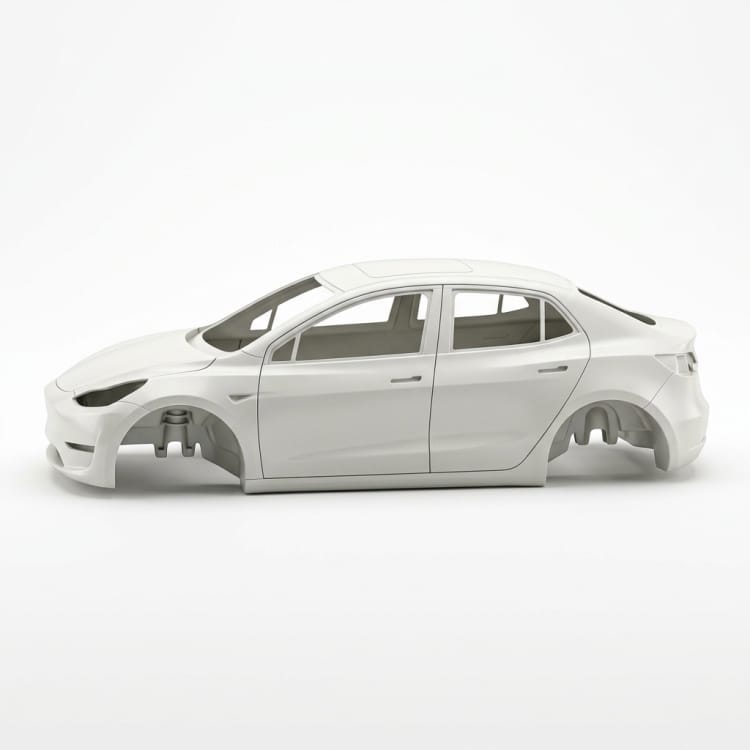
Match the electric vehicle body shell to the vehicle reference. Confirm vehicle package and hard points; agree door openings and glazing interfaces before tooling.