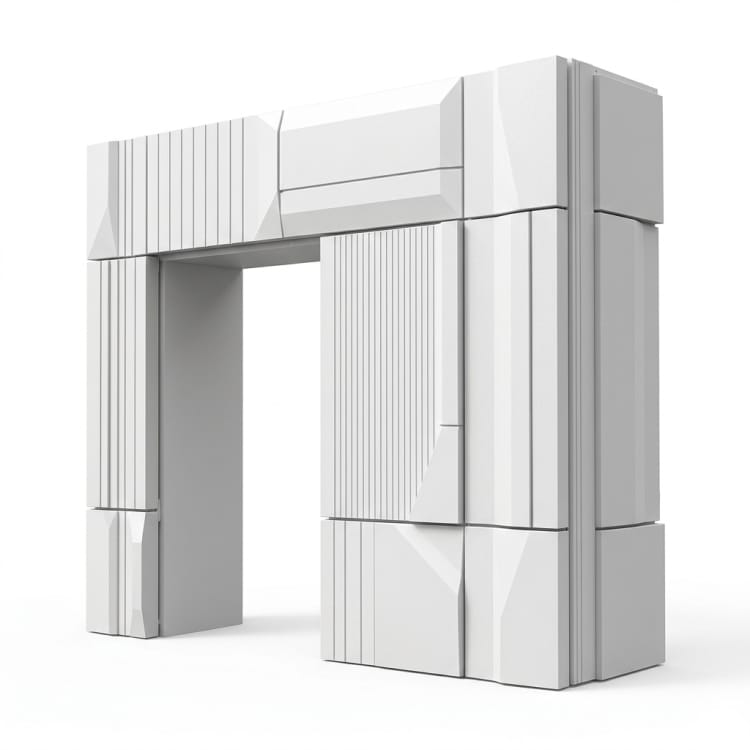
FRP Entrance Portal Cladding
Set out the FRP entrance portal cladding from the building drawing. Confirm opening dimensions and door clearance; agree corner junctions, substrate and lighting integration before tooling.
Direct Manufacturer
Explore custom FRP facade panels and trim. Coordinate the elevation, substrate, module joints, fixing method, finish sample, and installation tolerances.
Set out the FRP entrance portal cladding from the building drawing. Confirm opening dimensions and door clearance; agree corner junctions, substrate and lighting integration before tooling.
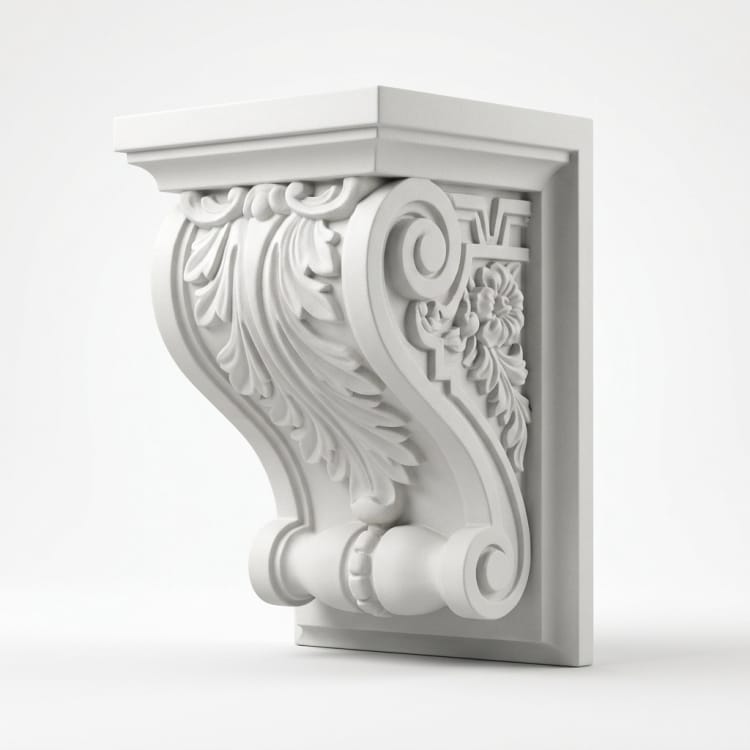
A custom architectural accent starts with its elevation location and profile. Resolve the substrate, fixings, joint lines and finish sample with the facade team before tooling.
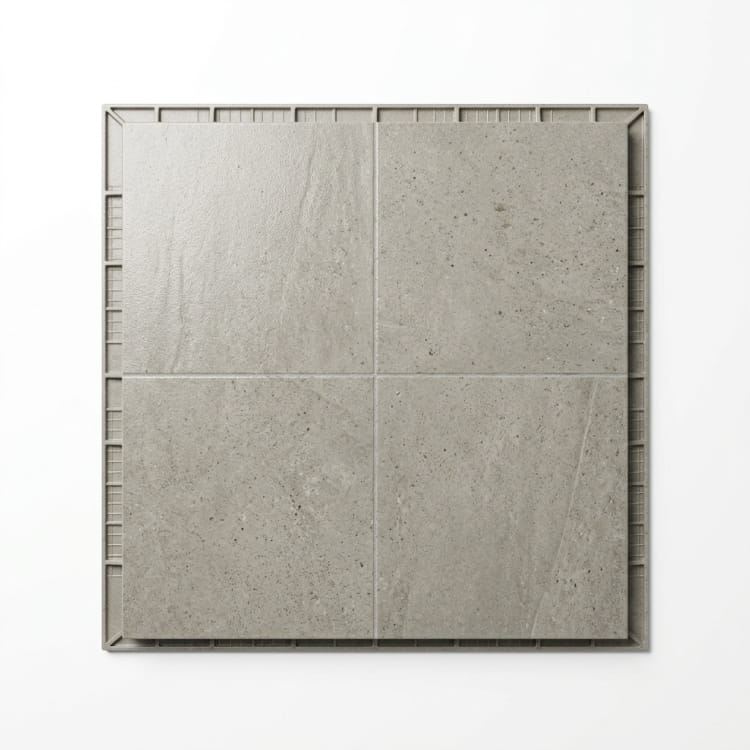
Custom FRP flooring and tile modules with a ceramic-look finish, made to buyer drawings for module size, joint pattern, substrate interface, and appearance. The buyer specifies load and slip-performance requirements.
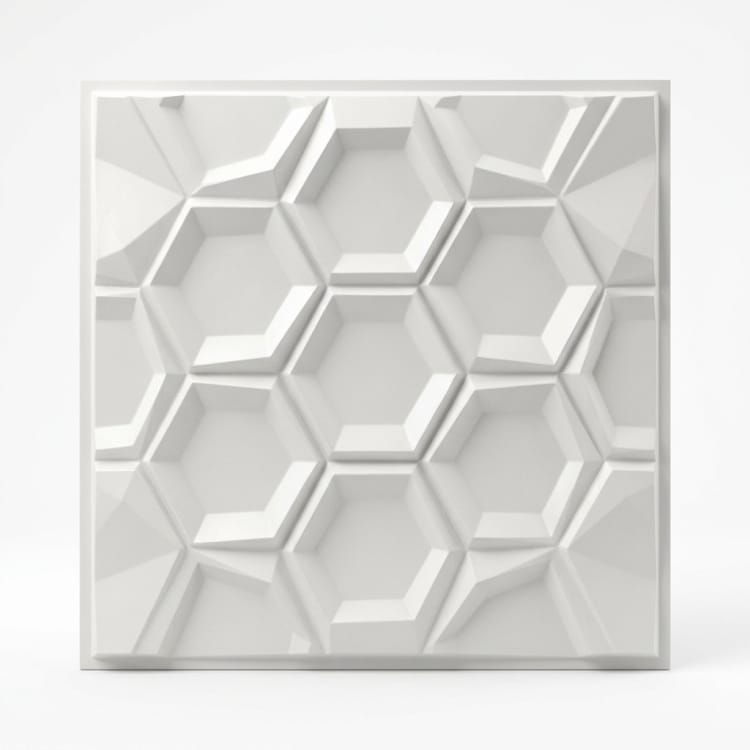
Set out the FRP exterior wall feature panel from the building drawing. Confirm elevation grid and backing wall; agree panel joints and openings before tooling.
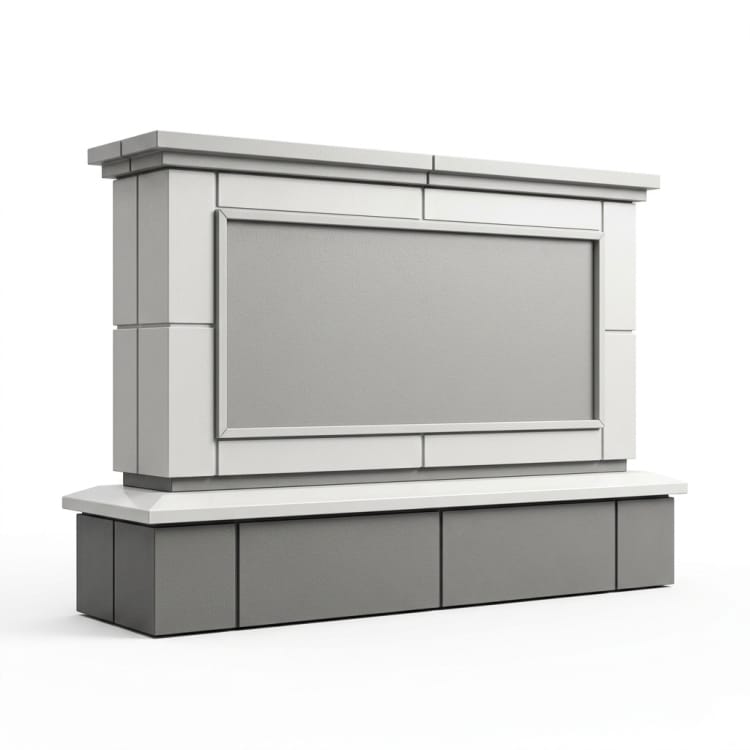
Set out the FRP monument sign cladding from the building drawing. Confirm sign structure and graphic face; agree illumination openings, access and foundation interface before tooling.
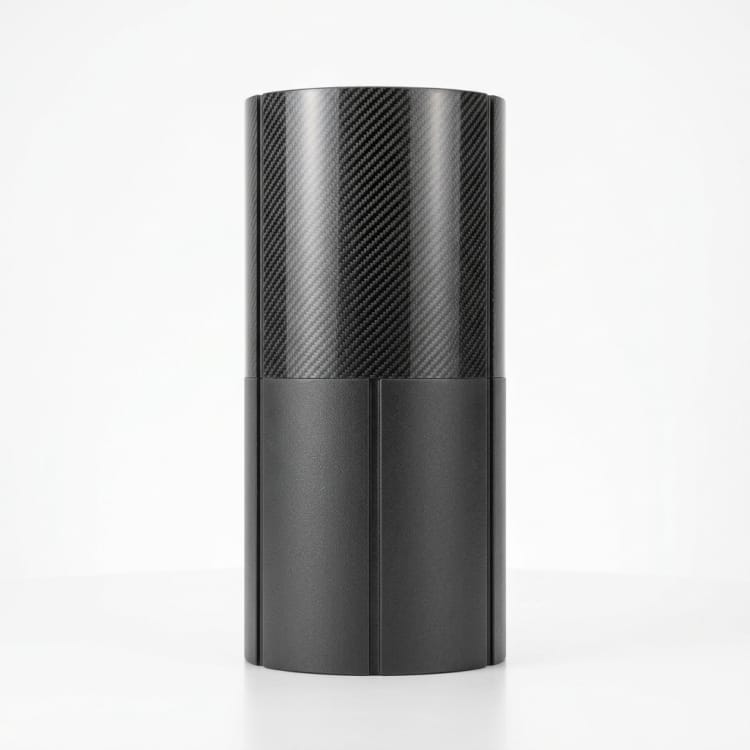
Set out the FRP architectural column cladding from the building drawing. Confirm column survey and panel split; agree corner return, access to base and concealed fixing before tooling.
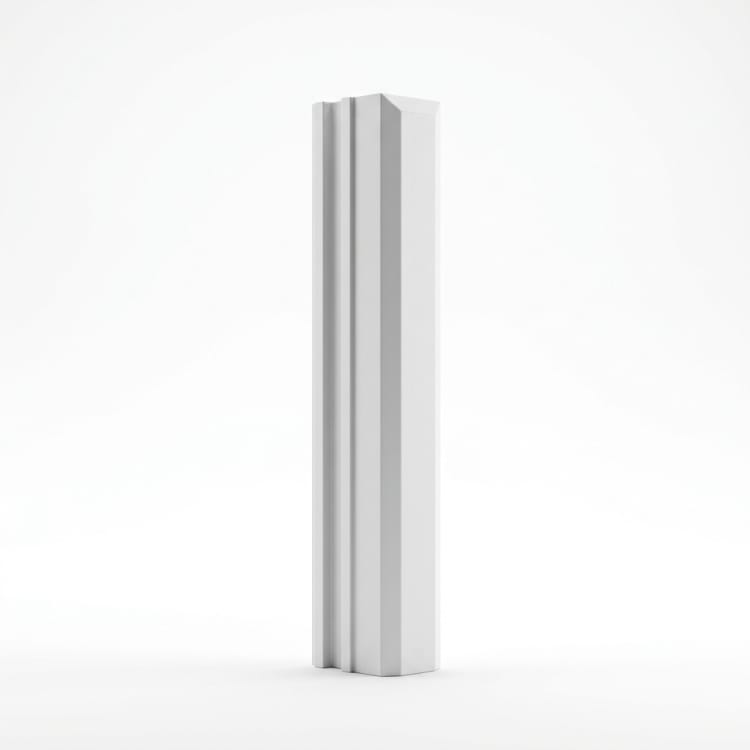
Set out the FRP facade mullion cover from the building drawing. Confirm mullion dimensions and glazing clearance; agree clip detail, weather seal and color match before tooling.
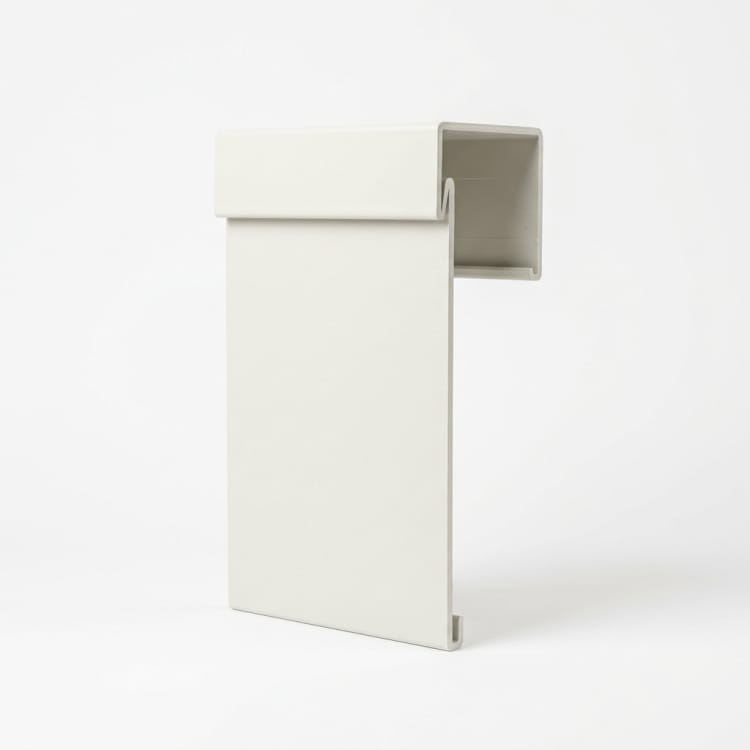
Set out the FRP roof edge fascia panel from the building drawing. Confirm roof perimeter and drip detail; agree panel joins, support and weatherproofing boundary before tooling.
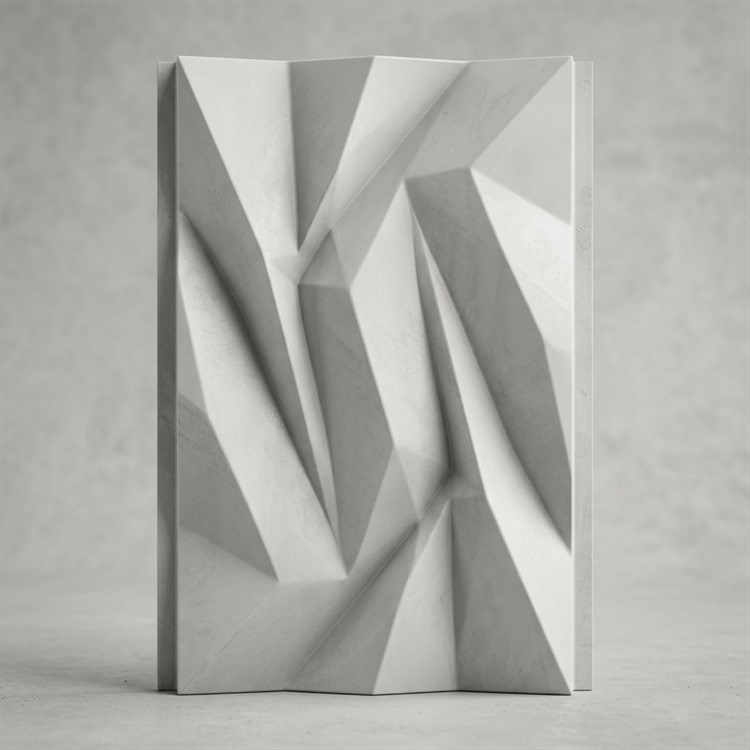
Set out the architectural decorative shape from the building drawing. Confirm 3D shape and sightlines; agree module joints, supporting frame and finish sample before tooling.
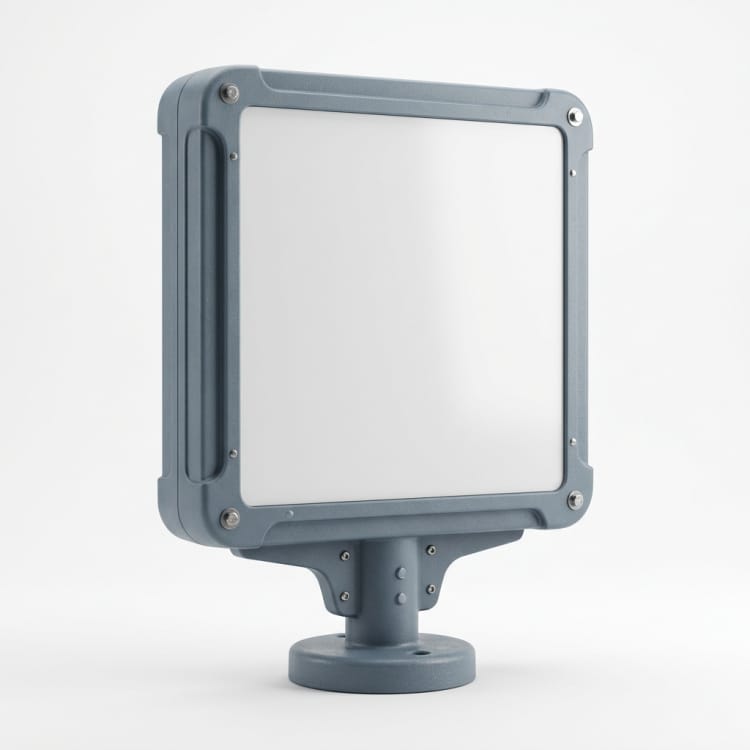
Custom FRP advertising sign bodies made to approved dimensions, graphics, lighting openings, support and fixing plans. The buyer defines site wind loads, electrical scope, and local permitting.
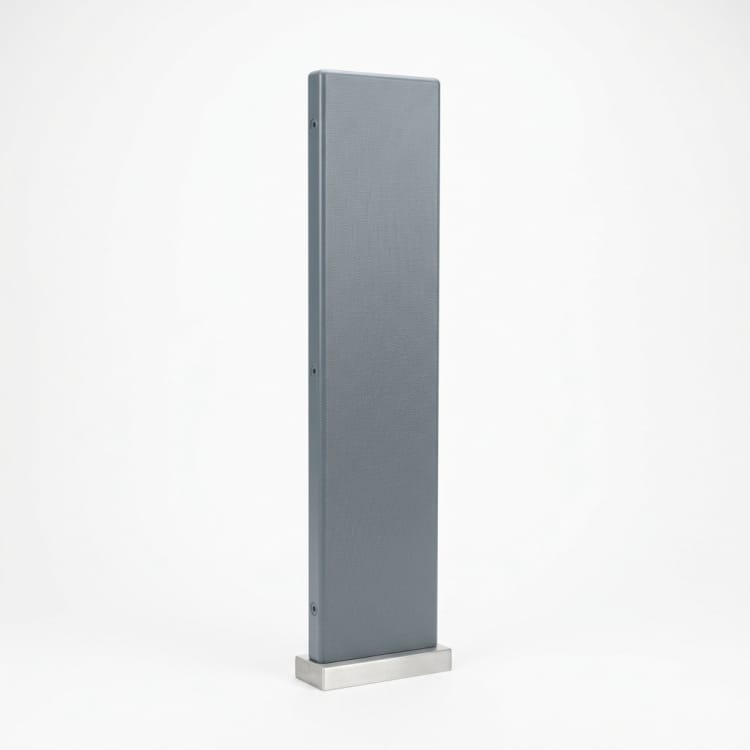
Set out the FRP balustrade cover panel from the building drawing. Confirm rail geometry and fixing points; agree drainage, pedestrian contact edges and code-defined loads before tooling.
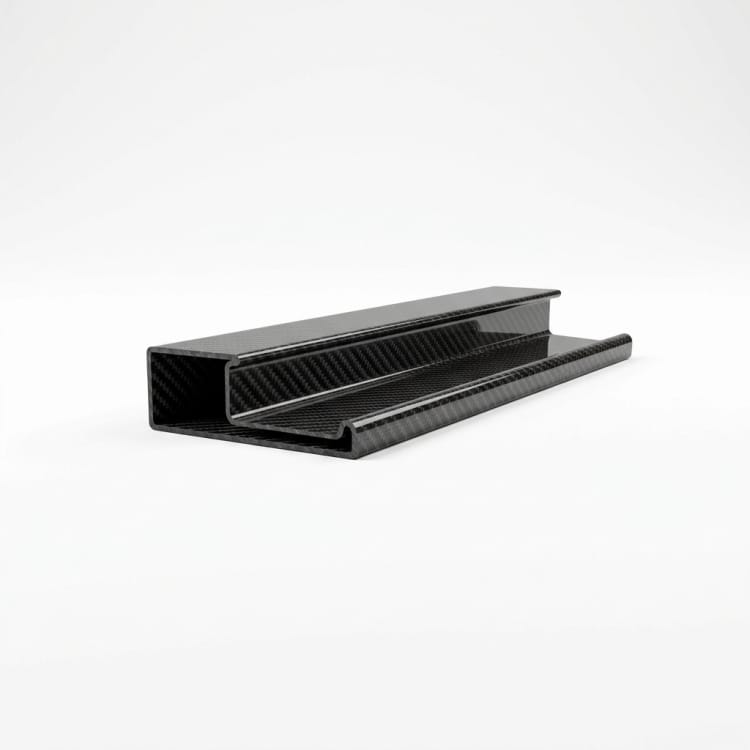
Set out the FRP facade reveal trim from the building drawing. Confirm reveal depth and straightness; agree corner return, substrate and drainage path before tooling.
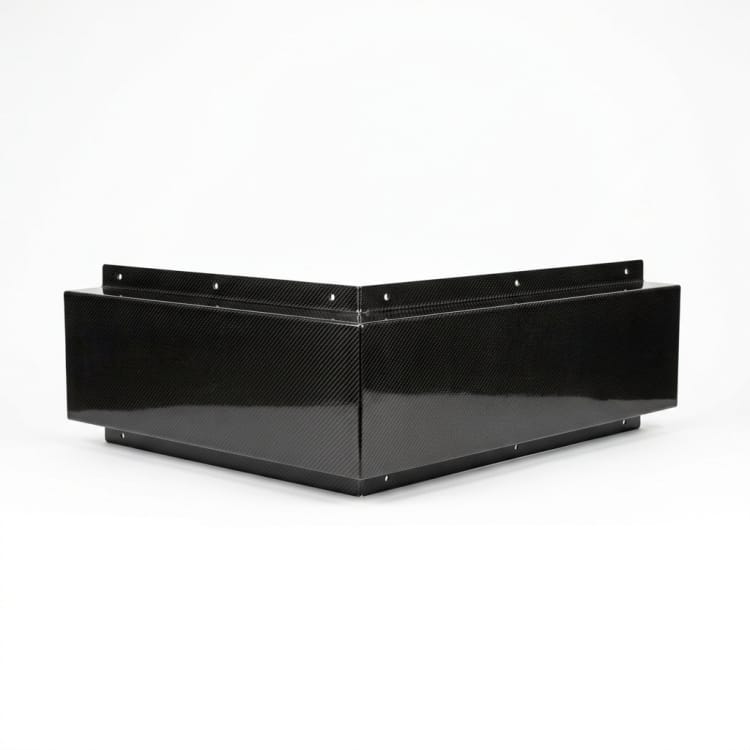
Set out the FRP entry canopy fascia from the building drawing. Confirm canopy perimeter and panel returns; agree drip edge, fixing points and adjacent flashing before tooling.
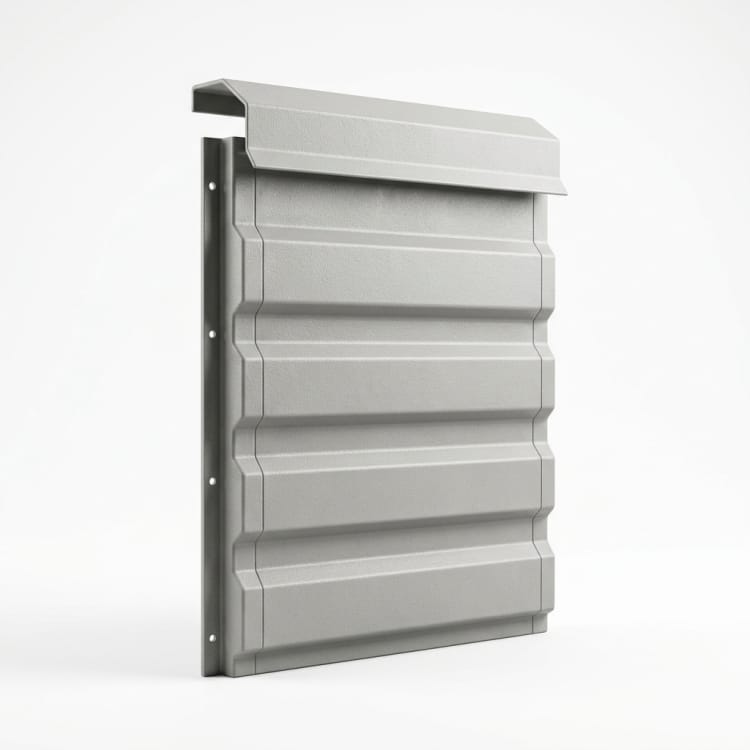
Set out the FRP parapet cladding panel from the building drawing. Confirm parapet survey, coping and waterproofing interface; agree joints, fixing and drainage before tooling.
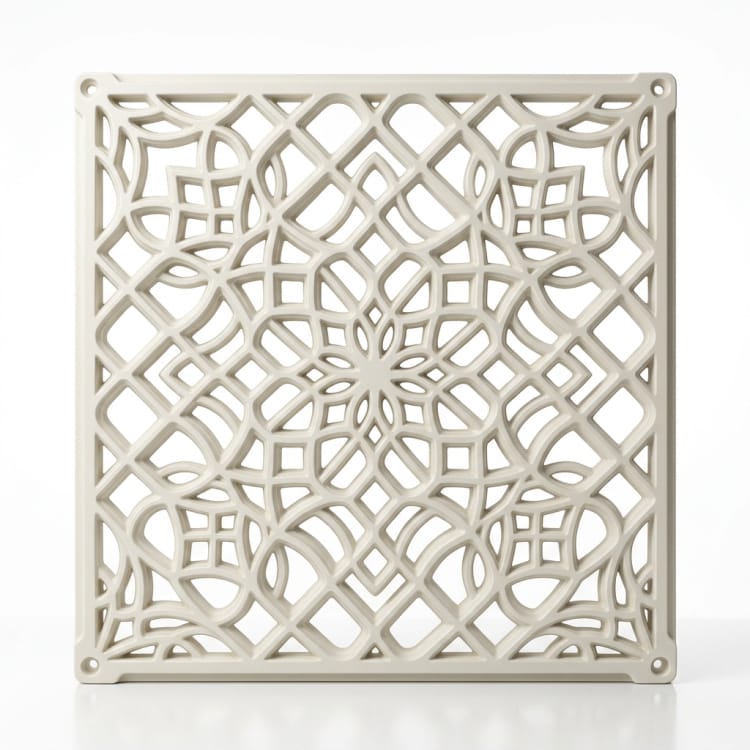
Sunshade panels work as part of the facade, not as isolated ornaments. Confirm their projection, solar orientation, support brackets, drainage and wind design brief.
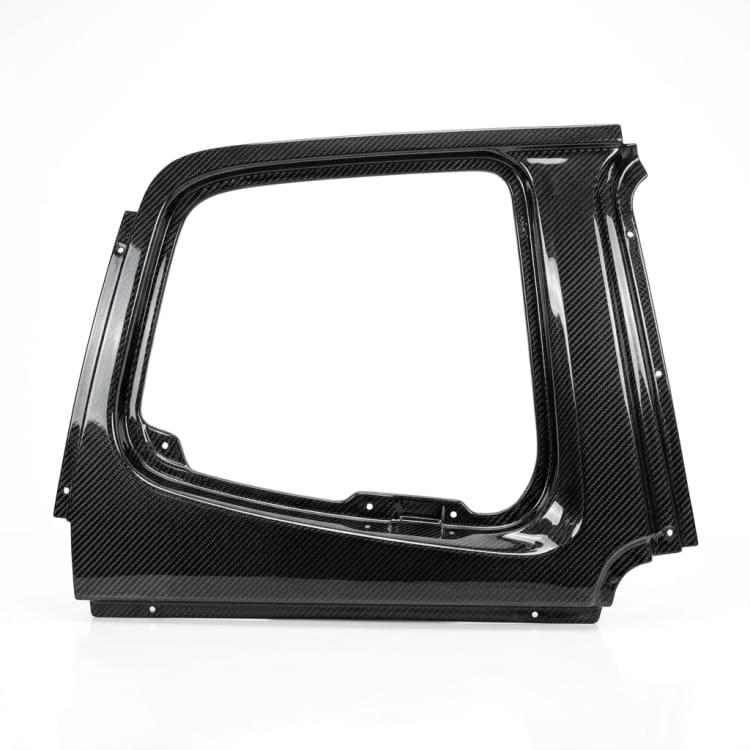
The window surround must meet the actual opening and glazing line. Survey dimensions, sill drainage, corner joints and fixing points before splitting the FRP panels.
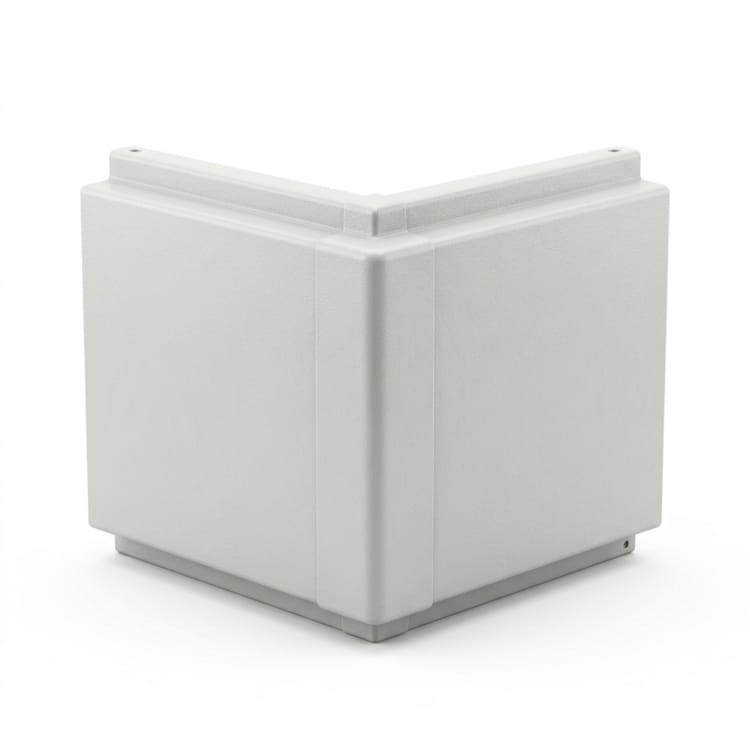
Set out the FRP facade corner wrap panel from the building drawing. Confirm corner angle and adjacent panel depths; agree joint position, substrate and tolerances before tooling.
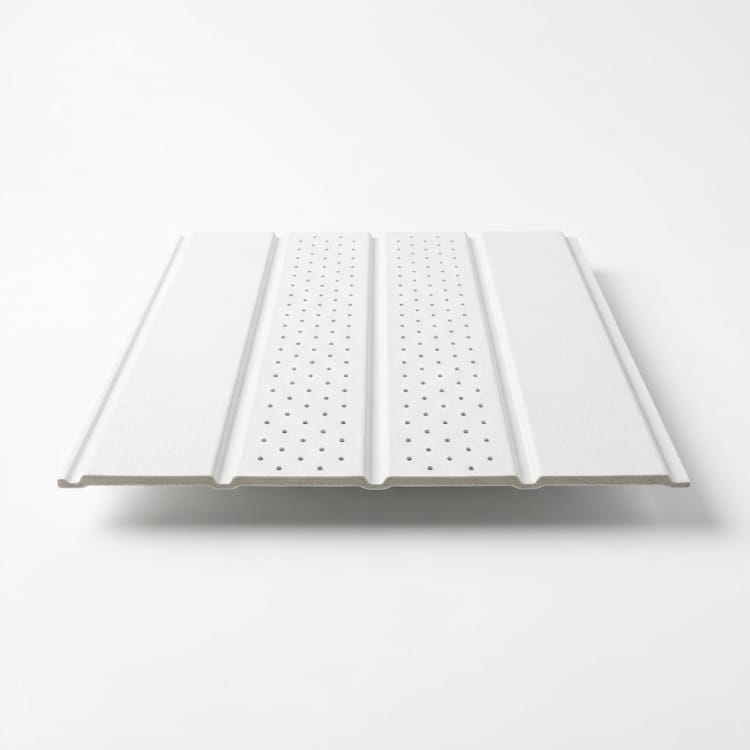
Set out the FRP soffit ceiling panel from the building drawing. Confirm soffit grid and support; agree access hatches, lighting openings and moisture exposure before tooling.
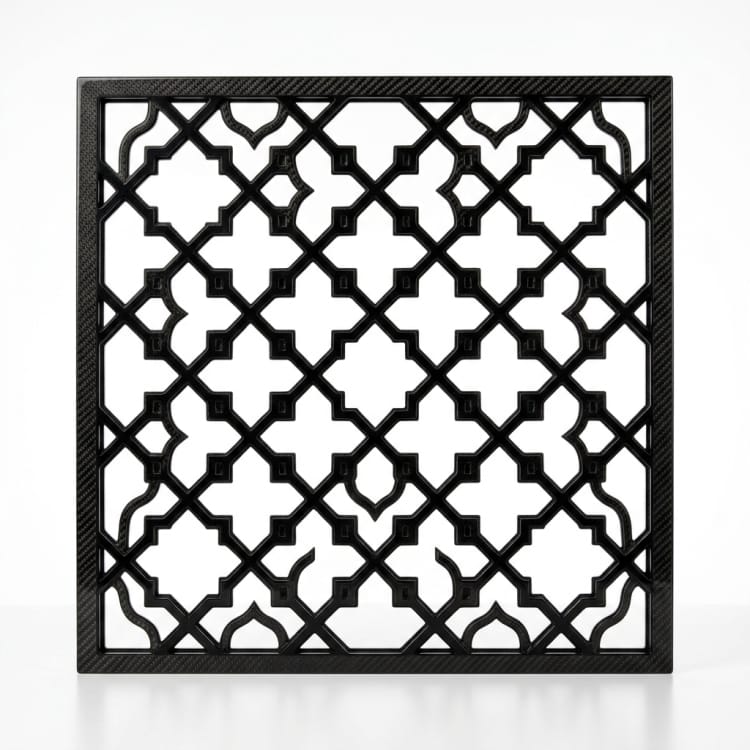
Set out the FRP decorative screen panel from the building drawing. Confirm open-area pattern and panel spans; agree support frame, fixing and view or airflow targets before tooling.
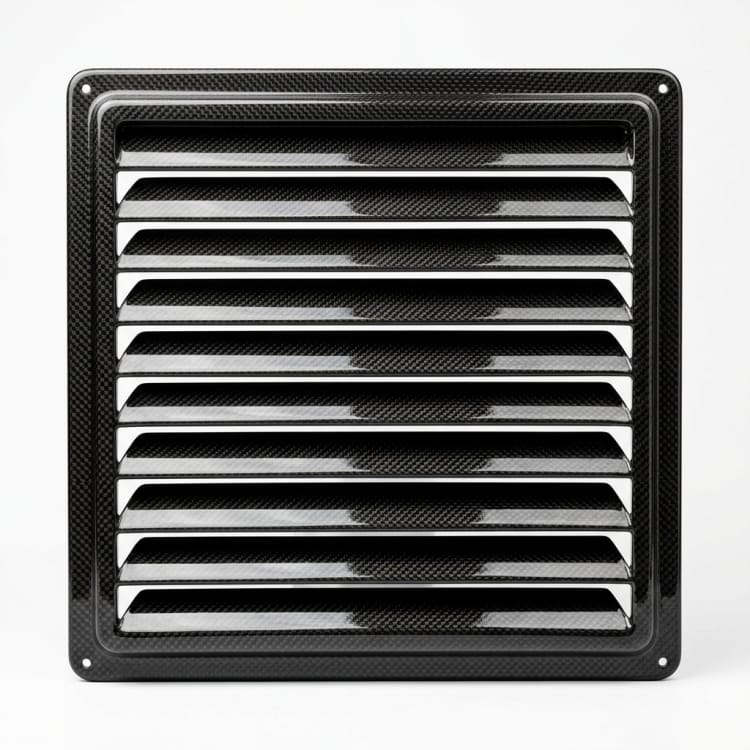
Set out the FRP decorative louver panel from the building drawing. Confirm blade angle and spacing; agree airflow requirement, panel supports and cleaning access before tooling.