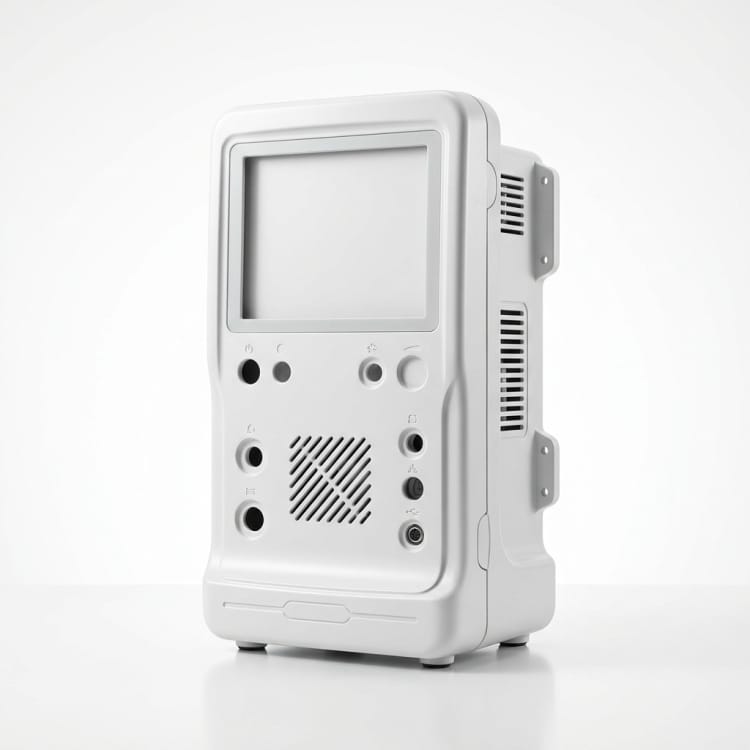
FRP Endoscopy Console Housing
An endoscopy console shell should keep the screen, connectors and rolling base easy to use. The OEM layout sets ventilation, cable exits and wipe-clean surfaces.
Direct Manufacturer
Browse custom FRP manufacturing solutions on page 2 of 17, including composite products for OEM, industrial, architectural, and commercial projects.
An endoscopy console shell should keep the screen, connectors and rolling base easy to use. The OEM layout sets ventilation, cable exits and wipe-clean surfaces.
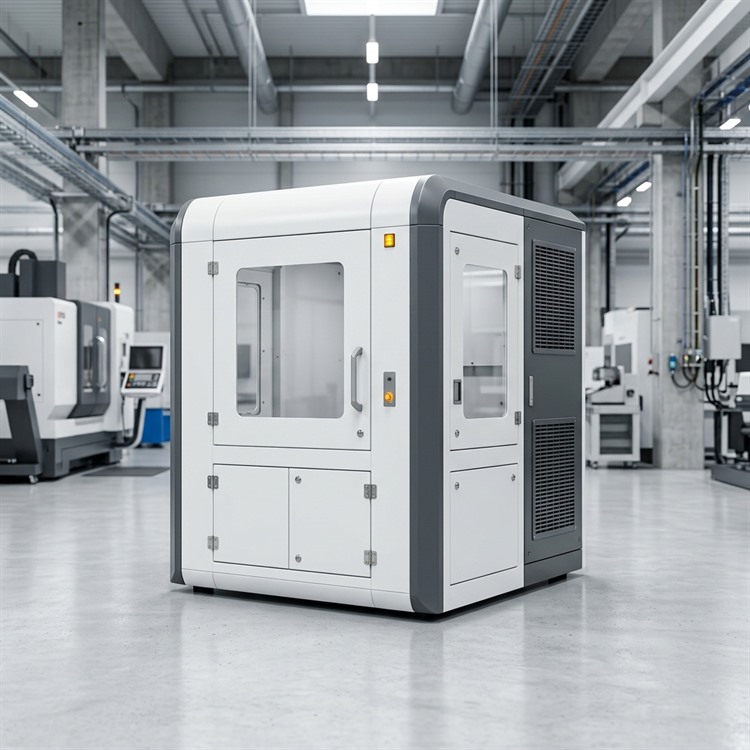
A machine cover has to fit the equipment without blocking routine work. Size the enclosure around airflow, service doors, lifting points and the conditions at its installation site.
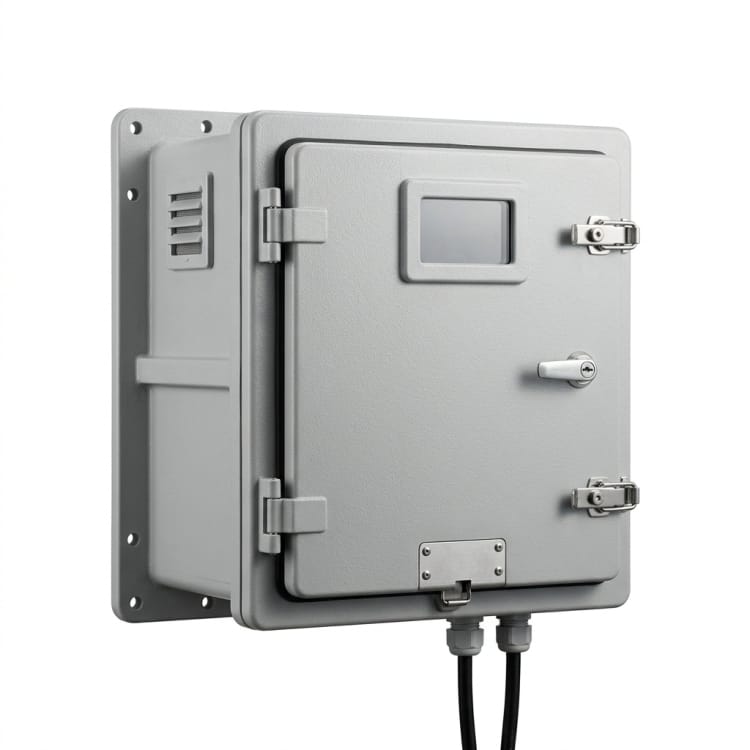
Protect the instrument while keeping its display and service points accessible. Set cable entry, ventilation and weather seals around the actual equipment footprint.
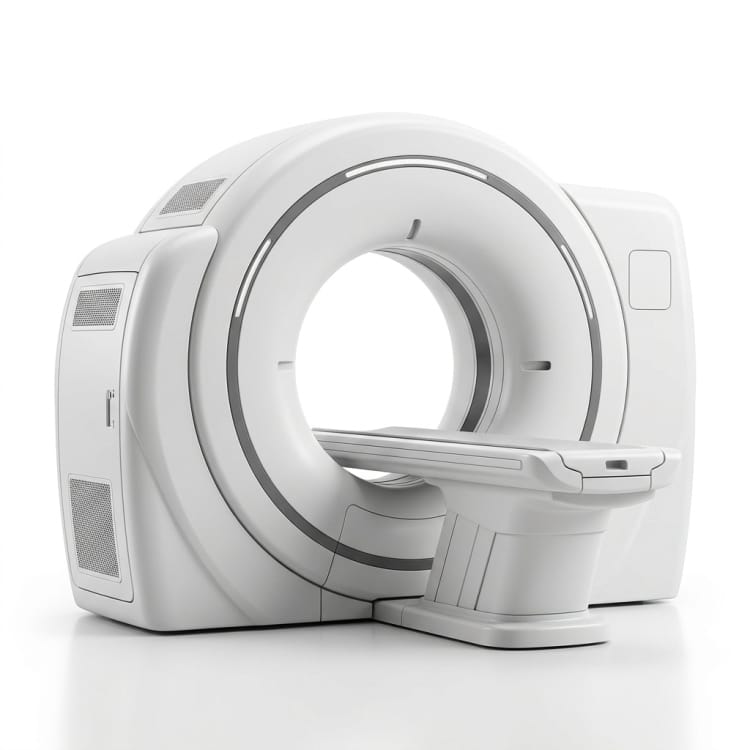
The CT scanner cover follows the OEM gantry, with a clear patient opening and panels that can be removed for service. Cable routes and finish are agreed from the device drawing.
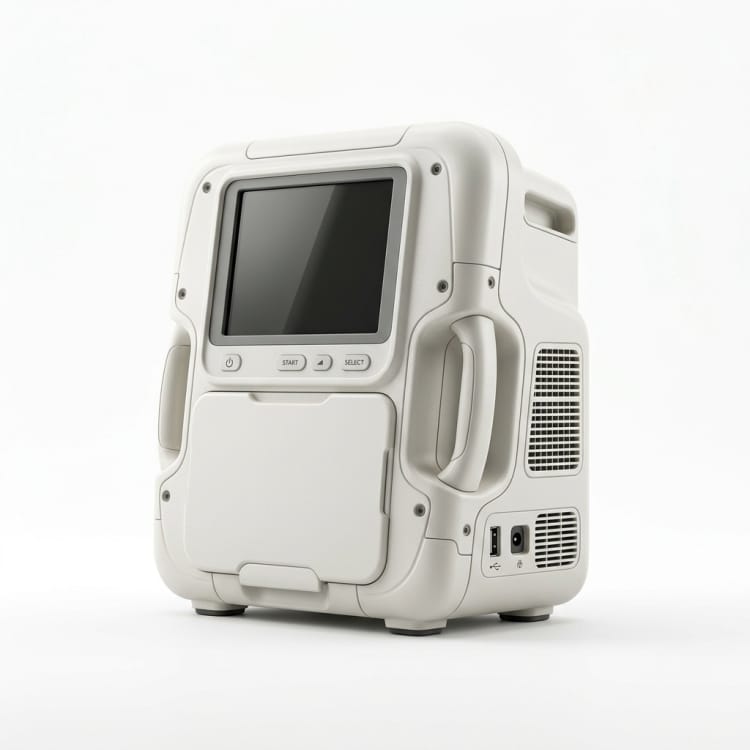
A medical device shell is shaped around the equipment and the people who use it. The OEM defines contact areas, cleaning approach, service access and regulatory requirements.
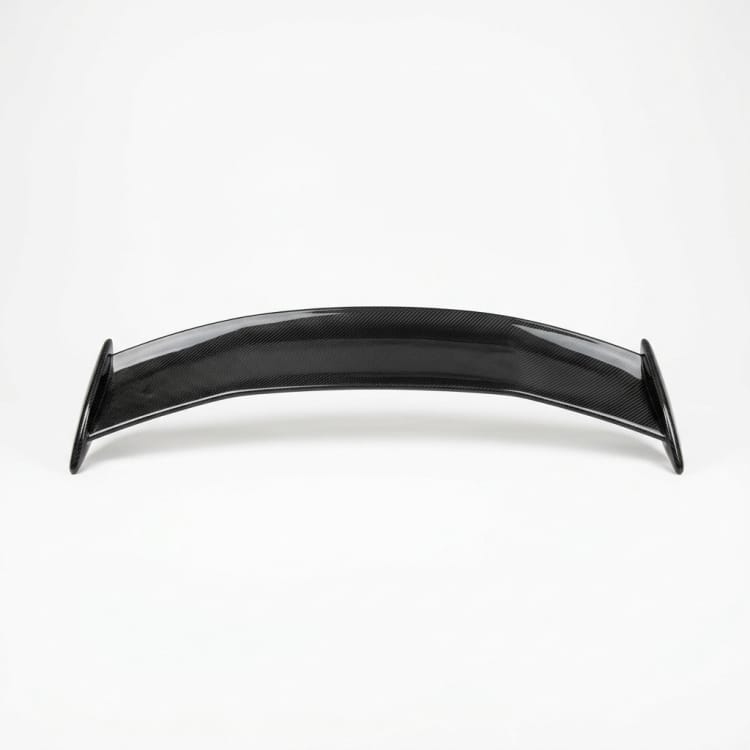
A rear spoiler shell starts with the vehicle it must fit. Check the deck or roof interface, mounting points, left-right symmetry and finish against the approved reference.
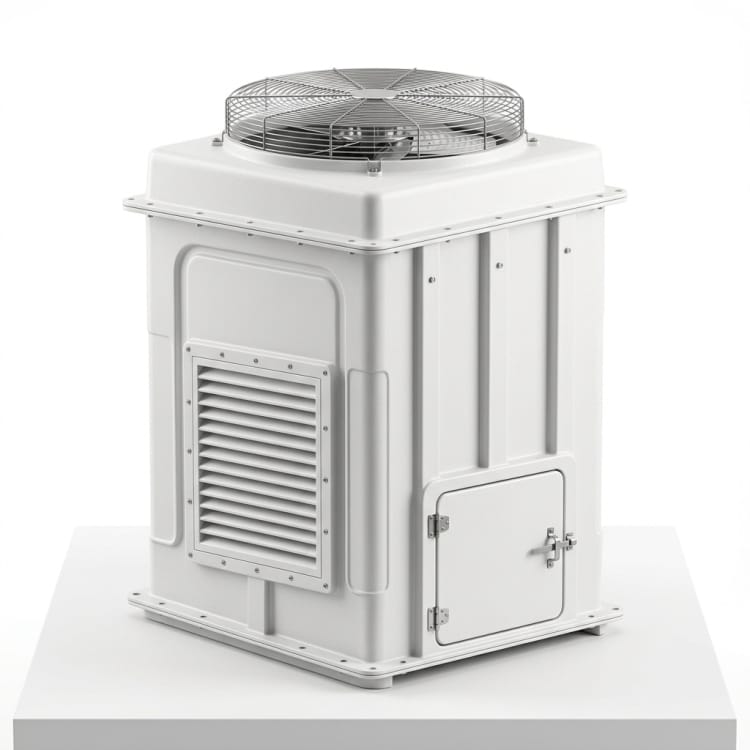
The casing needs to follow the cooling tower’s air path while leaving wetted areas reachable. Use the equipment layout to place access doors and support-frame connections.
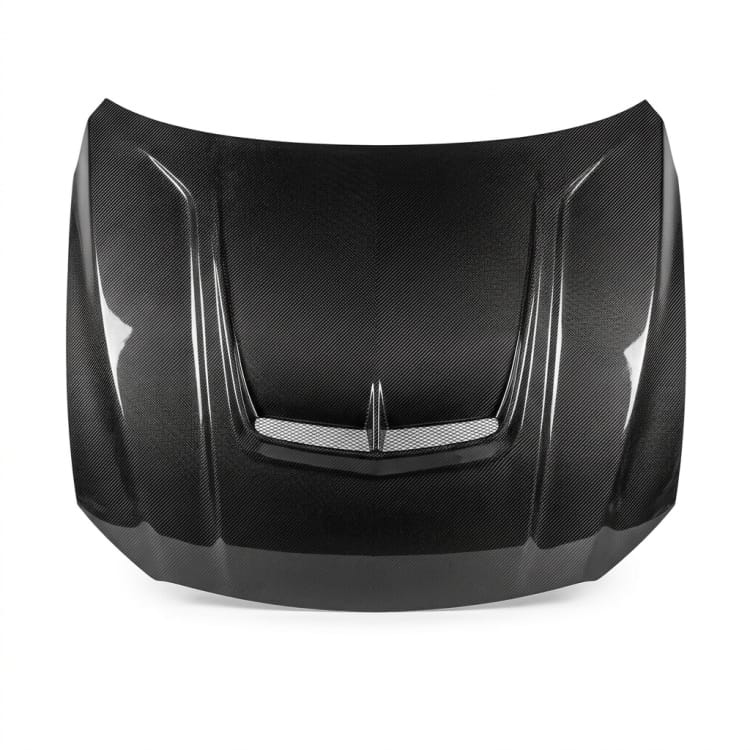
A carbon fiber hood must align with the hinges, latch and surrounding body gaps. The vehicle reference sets underhood clearance, reinforcement areas and surface finish.
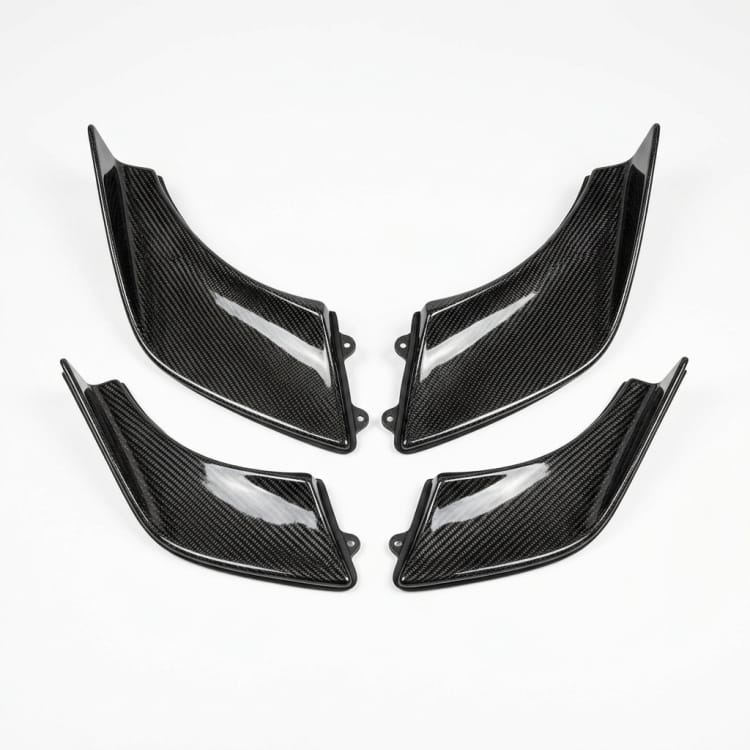
Left and right canards must match the bumper curvature and each other. Define attachment points, edge shape and visible weave from the vehicle reference part.
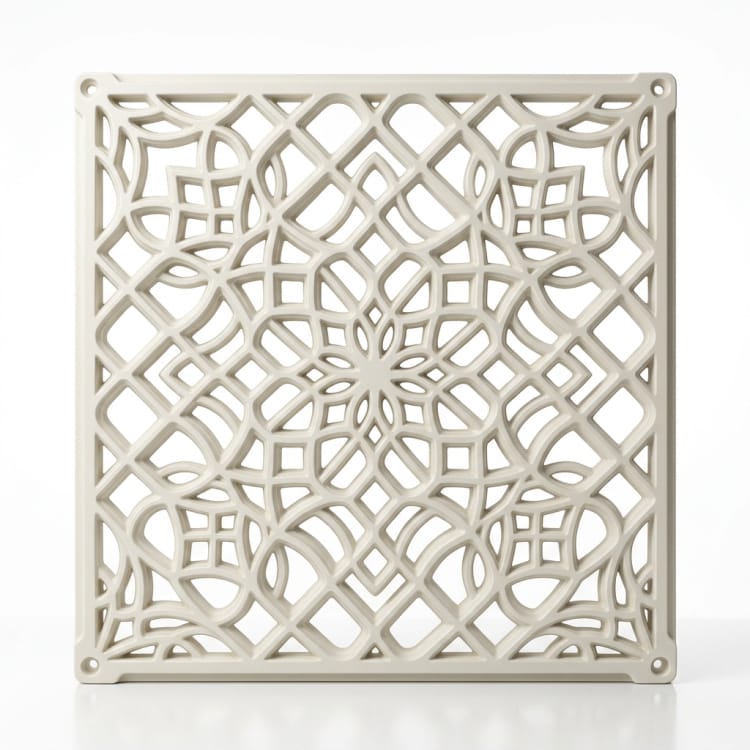
Sunshade panels work as part of the facade, not as isolated ornaments. Confirm their projection, solar orientation, support brackets, drainage and wind design brief.
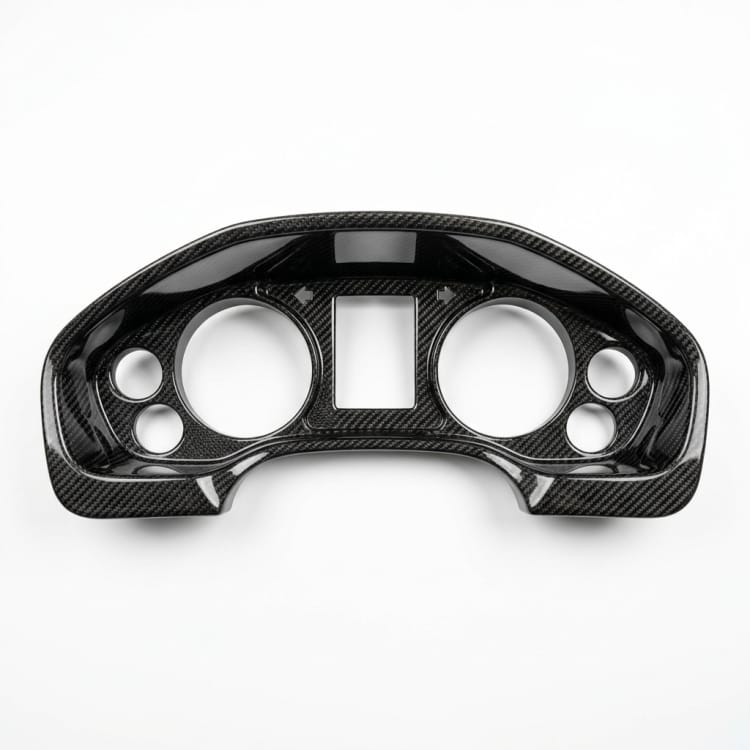
The cluster cover should fit the dashboard without affecting display visibility. Set clip positions, edge gaps, reflection control and weave direction from the mating part.
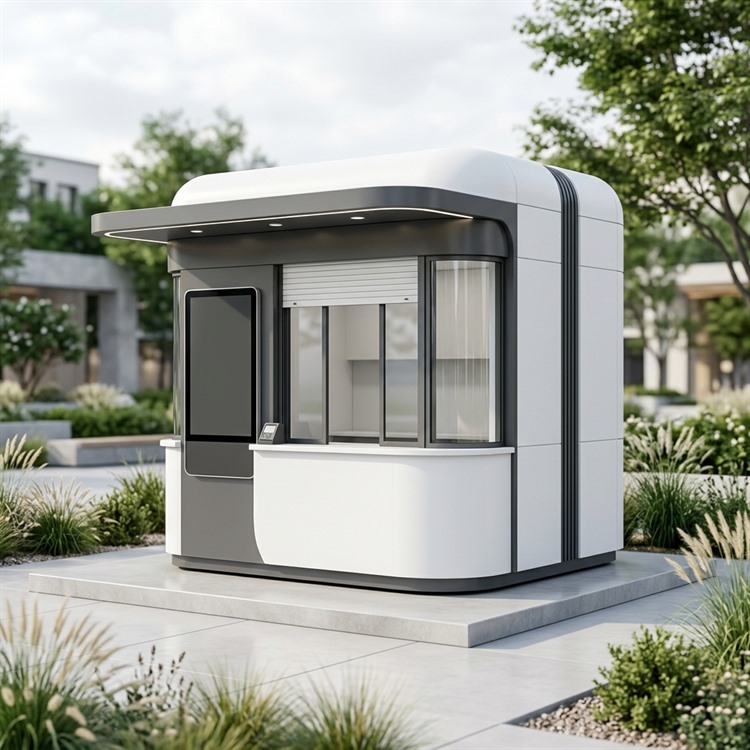
A kiosk should make the customer-facing opening easy to find and the work area easy to service. Plan equipment space, access panels and utility connections around daily use.
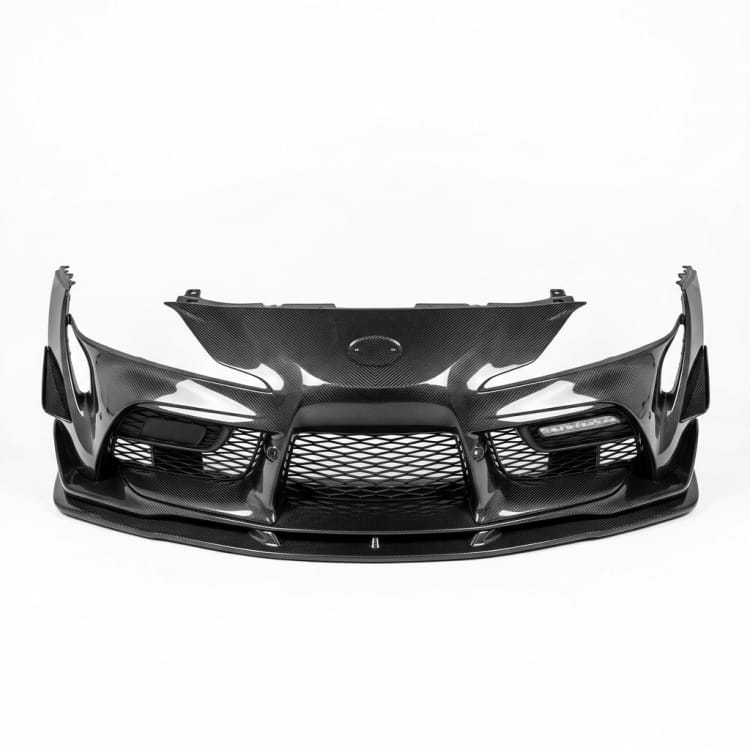
The front fascia follows the vehicle reference around lamps, grille and bumper. Check mounting points and pedestrian-facing edges before finalizing its molded shape.
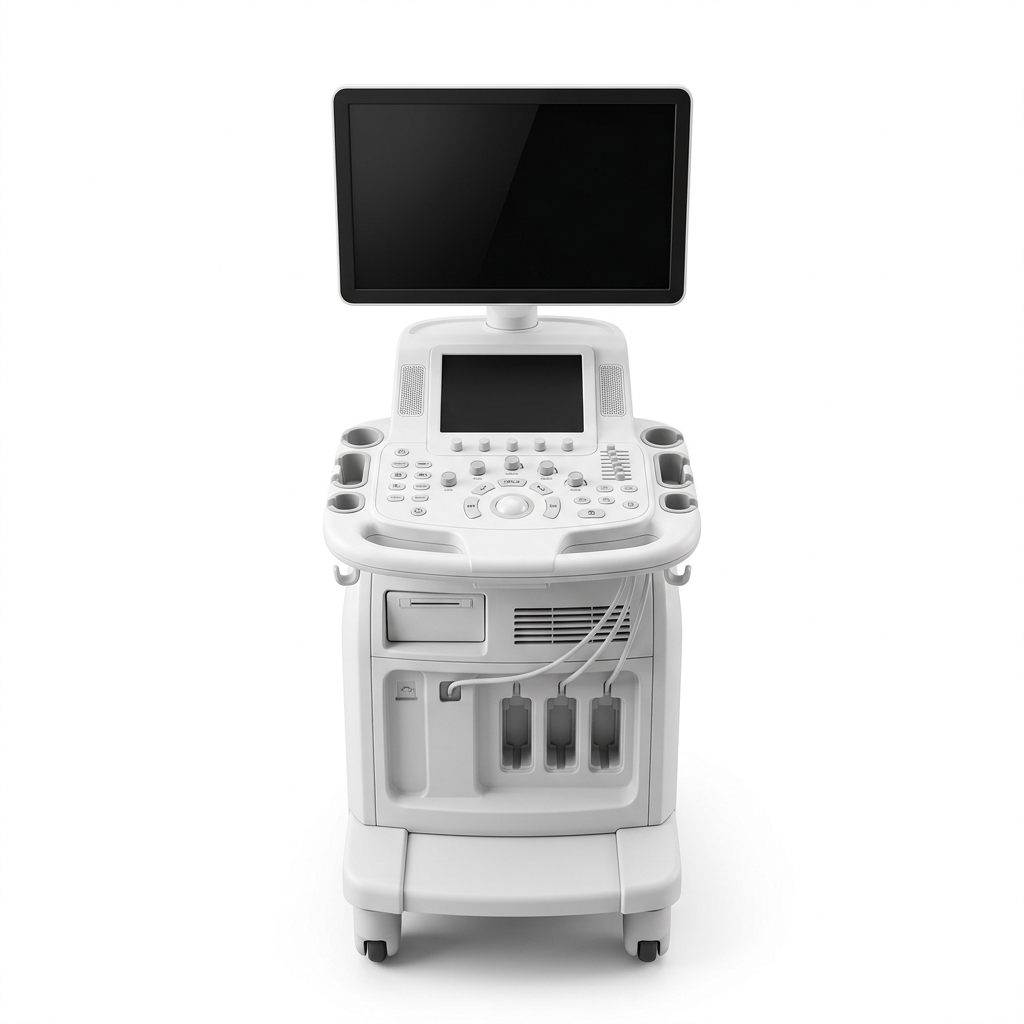
The ultrasound console shell has to accommodate the screen, probes and rolling base. Use the OEM layout to place cable routes, ventilation and surfaces that need cleaning.
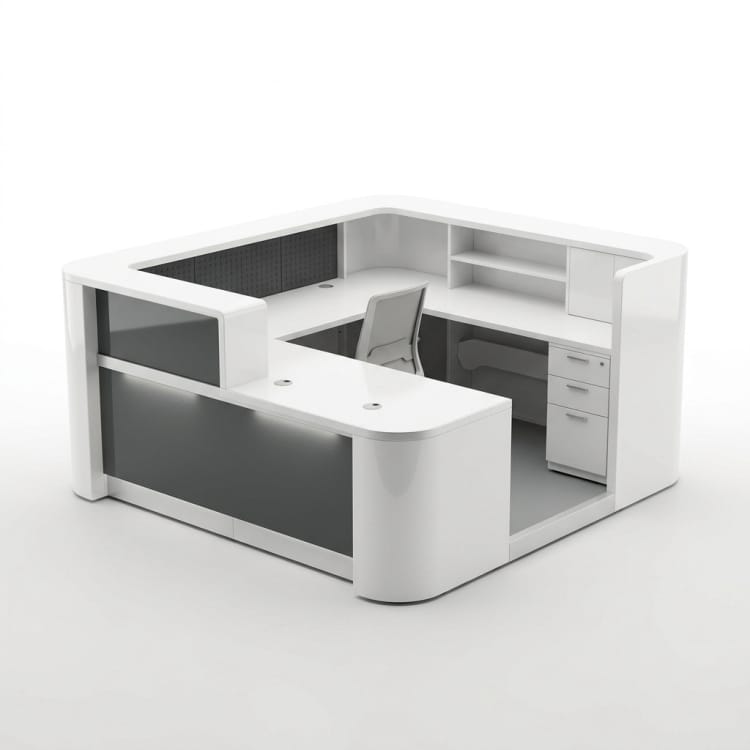
At an entrance, the booth should give staff a clear view of arriving visitors. Counter height, glazing, door position and service connections follow the operator’s plan.
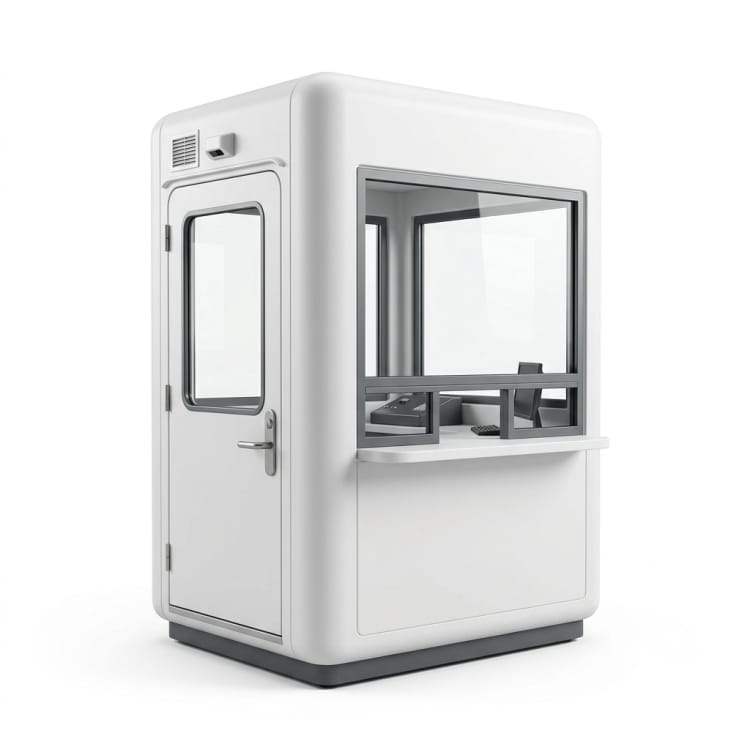
Custom FRP security-check booth planned around staff sightlines, controlled entry, doors, glazing, equipment, power, and site layout. The buyer defines checkpoint operation and security requirements.
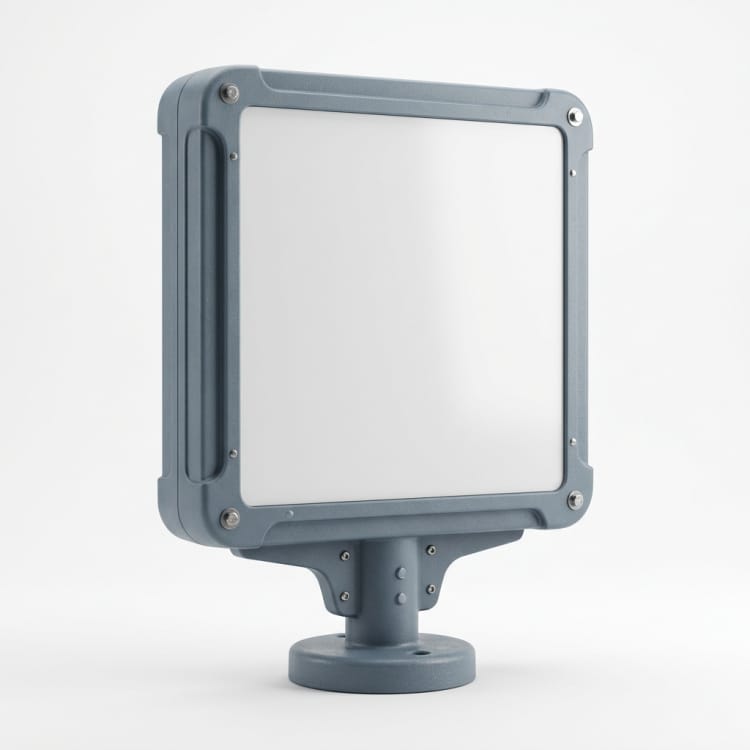
Custom FRP advertising sign bodies made to approved dimensions, graphics, lighting openings, support and fixing plans. The buyer defines site wind loads, electrical scope, and local permitting.
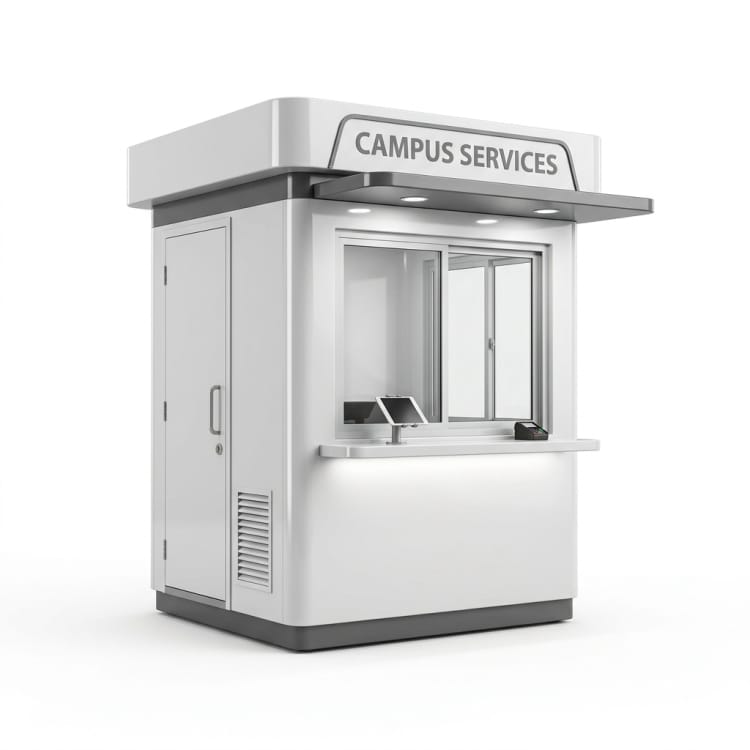
A campus service booth is planned around how visitors approach the counter. Coordinate the staff door, glazing, data and power routes with the operator’s site layout.
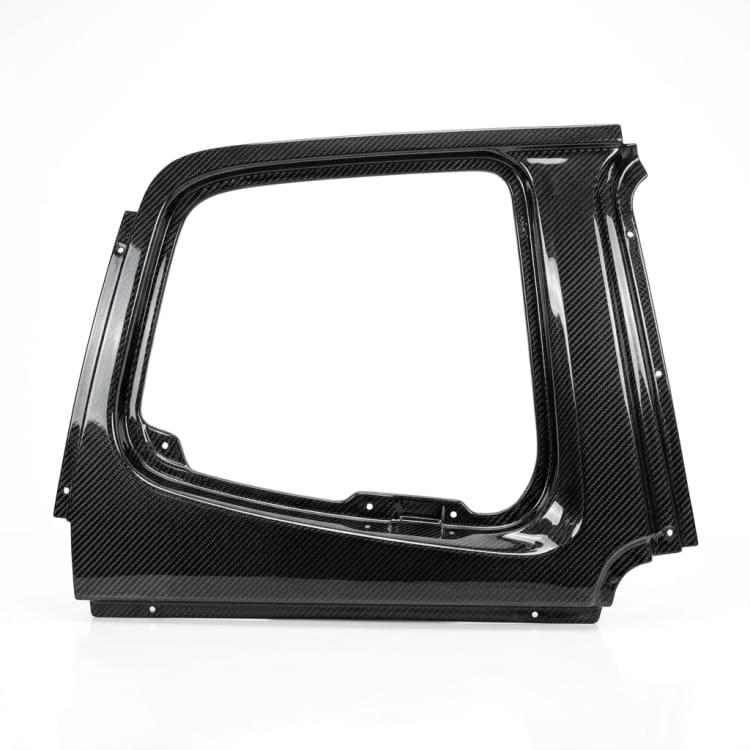
The window surround must meet the actual opening and glazing line. Survey dimensions, sill drainage, corner joints and fixing points before splitting the FRP panels.
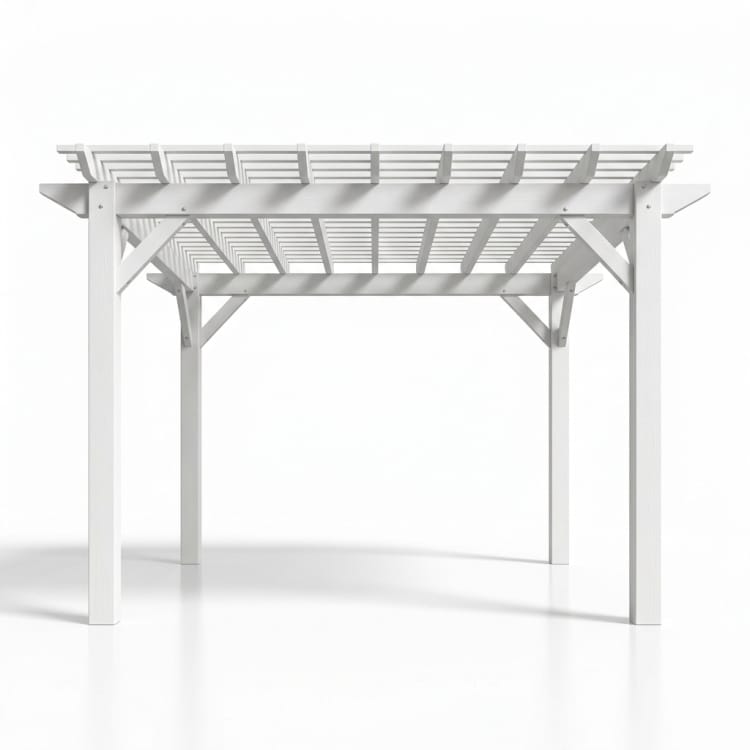
A garden pergola starts with the site plan and its support points. Set post spacing, overhead form, foundation connections and delivery sections to suit the location.